Brief Description: Drilled canopy to canopy frame.
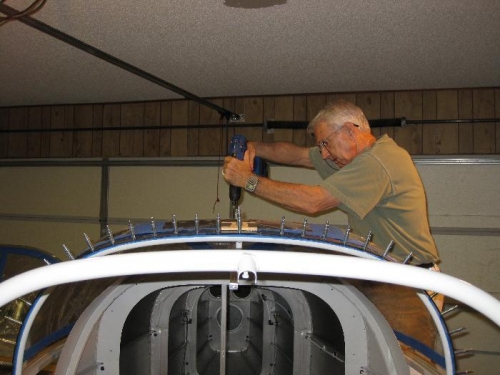
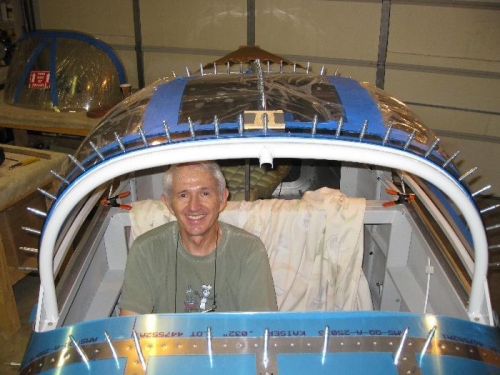
Charlotte is back from Virginia, so now I have readily available help at home again. She helped me put the canopy onto the canopy frame after I had sanded the edges with my new belt sander, and I proceeded to clamp it down for drilling. I had previously put masking tape on the canopy frame and marked my positions (starting at the top center, 2" spacing down the center tube, the rear and forward bows). The canopy pressed on the masking tape and showed where the contact point was on the frame. Before drilling I took my #40 bit and by hand I drilled shallow start holes into the plexiglass so that it would be easy to spot the bit when in the drill.I then started drilling and clecoing at top center and alternated fore and aft, then left-right down the front and rear bows. I used my brother's 1/2" cordless drill and it worked great.
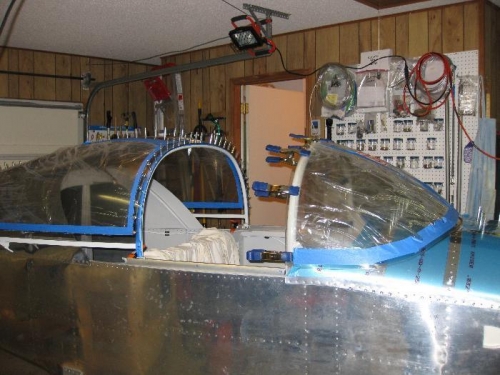
After finishing the drilling and clecoing I noticed that I would have to sand off some plexiglass on the sides to get the 1/4" spacing above the side bows. No bid deal and it seems the plexiglass holes were true and clean. Tommorrow I'll remove the canopy and deburr the holes. I'll also backdrill the top center cover strip.