Brief Description: Parking brake bracket and placement.
I had decided that I would install a parking brake based on personal experience with unlevel ramps and wind. There had been many times that I had to hurry with chalks under the wheels before the airplane tried to roll away. With a parking brake I would not have that worry. After chalking the wheels I plan to release the parking brake pressure so as not to have the brakes lockup or release due to temperature changes.
Therefore, I designed an attach bracket that could be fastened with a 8-32 screw to a platenut installed on a floor stiffener in the cabin tunnel. I can reach this position from either seat by leaning forward from the seat and position the valve to the closed or off position with my hand. I had to cut a slot in the tunnel cover to accomadate the swinging/articulated lever that I added to the valve lever. Forward to close the valve (parking brake on while holding pressure on the brakes) and aft to release the parking brake. This eliminated a firewall position with its holes for mounting and the cable to actuate it. I just inserted the valve in the tubes passing under the tunnel cover on the way to the landing gear mounts. I may have to attach a hold down spring to the cover to hold the handle in place to prevent inadvertant movement, I'll see. The Matco valve (PN- PVPV-D) is much smaller than I thought at 1.5"x1.7"x0.75".
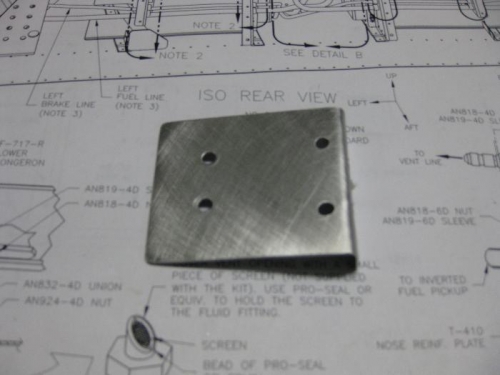
An L shaped bracket to hold the valve.
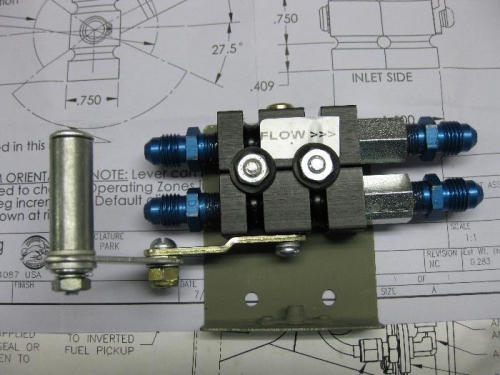
Valve and handle bolted to the bracket.
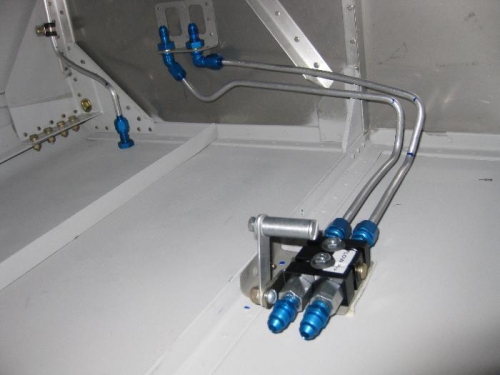
The 1/4' tubing coming from the firewall where the left seat brake pedal will be located.