Brief Description: Mounted Dynon Pitot Heater Control Box
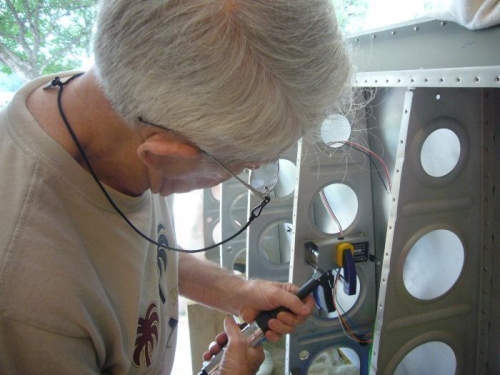
What always seems like a simple task is more complex than first meets the eye. Mounting the Dynon heated pitot control box that should be near the pitot with its connecting electrical wires seemed simple. I thought that I would rivet the box on the bay outboard rib where the the pitot comes into the wing. Then I realized that if it failed for any reason I would have to replace it. Drilling out rivets inside the wing through the inspection hole would be nearly impossible because it would be done by feel. I decided to put in platenuts and use machine screws instead, just in the event it would need to be replaced later. Must always think before you act!
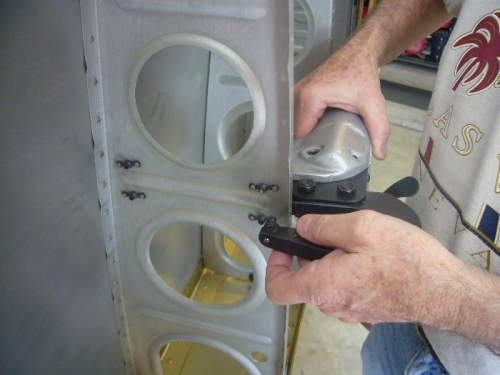
Backdrilled holes into rib through control box holes. (Had to use 90 deg. drill due to lack of space.) Put screw through hole into platenut and pulled tight with pliers to back drill first rivet hole, then clecoed that hole to drill the other hole. Riveted AN426-3-3.5 flush rivets into platenuts after lightly countersinking rib holes. (Used pneumatic squeezer with just enough space to do it through the rib holes.) Installed the control box with pitot connection wires foreward and power and ground wires aft toward the wing wiring conduit that will carry the wing wiring. Practiced a pitot line installation with the SafeAir1 plastic tubing to check for problems later.