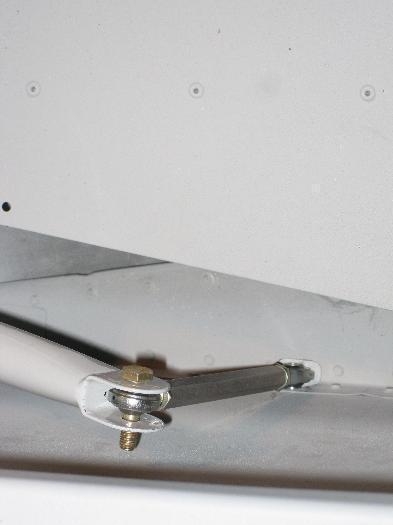
The next detail on the left wing was to install the flap and drill out the hole on the side and bottom of the fuselage to attach the flap actuating rod. This was an iterative process since there was only a small hole in the fuselage sidewall to indicate where to drill. You don't want to drill out too much, so I made the hole just big enough to put the rod through and attach it to the flap actuator arm. I then ran it down until it was about to contact metal and then removed the rod and drilled out some more skin. It wasn't difficult but it was tedious and annoying. I used a cordless drill, a die grinder, and various sizes of rat tail files.
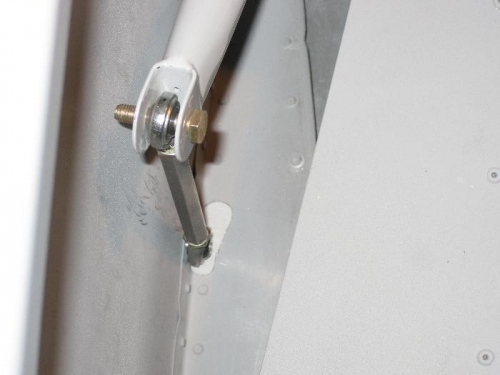
I finally got a peanut shaped hole on the fuselage bottom and side. The flap's bottom skin hides this hole with the flaps retracted. The flap bottom skin had to be bent slightly up to flush with the bottom of the fuselage skin. I hope the flap matches the aileron (in neutral position) when retracted, since I didn't have the aileron installed at the time. On to the vent tube.
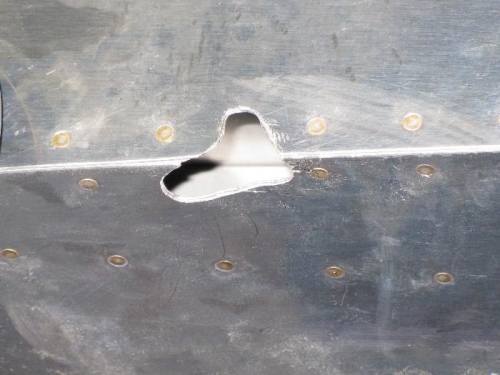
Trial run to determine where to remove skin.
The rod now moves up and down without touching the skin.