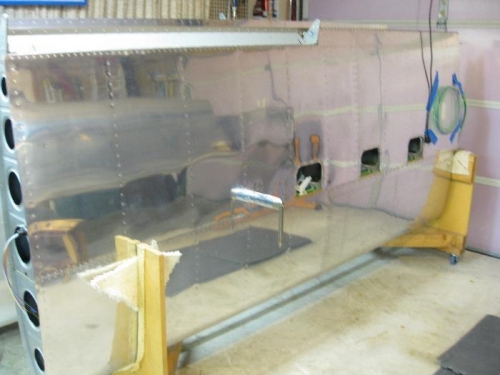
Brief Description: Finished riveting left wing and installed pitot.
The last two bays were relatively easy to rivet with the access from the holes in the last two ribs. I used a flashlight and could see most of the rivets as I bucked them. A visual really helps!
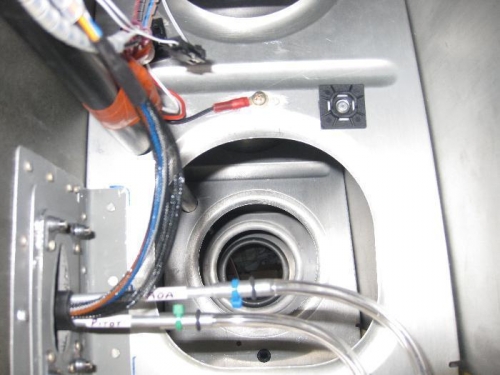
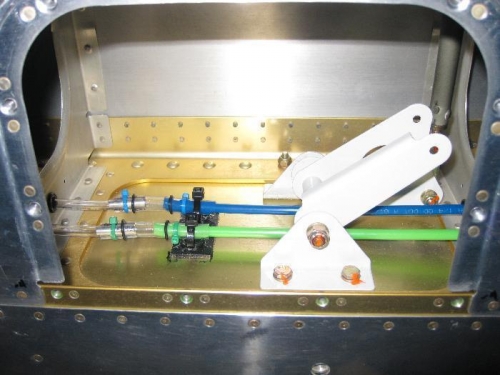
We then proceeded to rivet the pitot doubler into place. I had placed the pitot in the outboard rib of the outboard bay from the bellcrank inspection access. Most folks, I found out later, put it on the inboard rib right next to the inspection access. I, therefore, made another doubler and rib flange for the placement most folks used in the event I had to move the pitot later for some reason. The extra doubler has a hole but there is no hole in the skin. I'd have to make a hole in the skin and fill the other location hole if I moved the pitot inboard. The riveting was straight forward and was accomplished quickly. We noted that we had slight denting after riveting because we didn't lower the rivet gun pressure. Not many will ever see the bottom of the wing. Total riveting time on the left wing was 14.5 hours. The right wing should go much faster with what we learned.
It took about 1.5 hours of agony to get the pitot installed. The wiring and tubing connections and securing needs small hands and arms.