Brief Description: Installed glareshield cover & started taping.
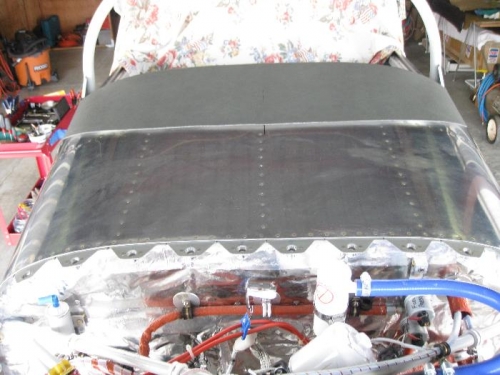
Charlotte and I installed gray naugahyde on the glareshield using contact cement. We used masking paper between the glareshield and the naugahyde that were coated with the contact cement. We then gently slid the paper out as we pressed the cemented naugahyde to the cemented glareshield. I worked out great!
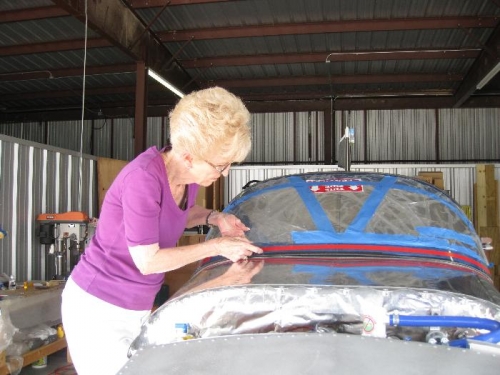
We then reinstalled the windshield and Charlotte strated taping with electrical tape on the plexiglass and nose skin to give a 2" area where we"ll layup the fiberglass. We'll use 2" 9 oz. fiberglass that comes in a roll. The top of the windshield "hood" strip will be 3" fiberglass which also comes in a roll. Much easier than trying to cut layers of cloth. The rolls of fiberglass are on order with AC Spruce.
Charlotte cut a lot of short strips of tape (red, yellow, and black) that we will layer onto the windshield and nose skin to a thickness of about six layers. We'll peel them off as we sand down the cured layup. When we reach the red layer we'll know it's the last layer and must be very careful with our sanding at the plexi and skin.
Nobody said this would be easy!!
Gray naugahyde on the glareshield.
Charlotte taping with electrical tape for the fiberglass layup.
Strips of 3M electrical tape shrinking in the breeze.