1. First we put the fuselage back on the rotisserie and then moved it away from the wall and tilted for easier access for the mounting brackets.
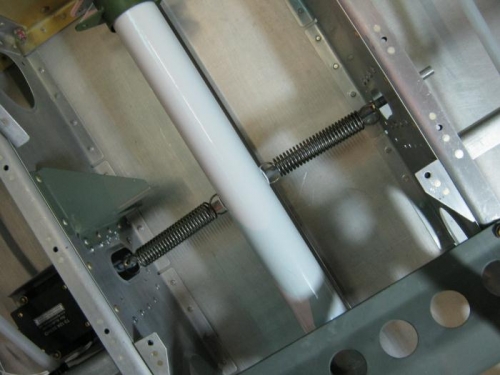
2. Removed the Trutrac roll servo from its bracket to make room. Hooked the tension springs to each side of the control column. The bracket for these were already welded in position and did not need to be rivited on. Easy peasy!
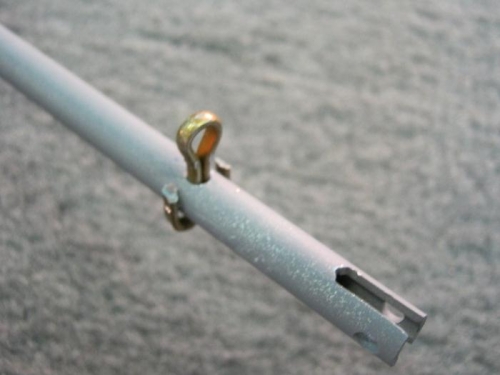
3. Fabricated the dlide tube by cutting to length, cutting a 1/8" slot in the end for the servo arm. Drilled three 1/8 holes ( 2 for cotter pins and 1 for the servo arm.
4. Inlarged the snap bushing I.D. from 1/4 to 21/64 so that the slide tube will move through it freely
5. Prep the brackets by deburring and edge polish, scuffing and priming
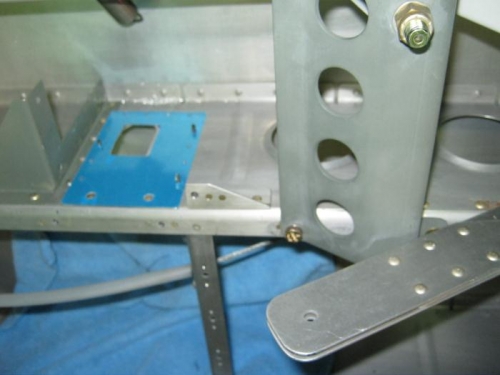
6. Used the template supplied in kit to mark the cut out location on left seat inbd rib and to drill for rivit holes. The proximity to the other ervo bracket is very close but will work. Clamped and then match drilled the 12 rivit holes. Removed for deburring. Installed the 4 nut plates and then rivited in position with 12 lp-4 pop rivits. Note: I didnt need to cut out the template hole because there was one there already that lines up real nice.
7. Put other bracket on rt side rib and drilled the holes for it. Rivited in place and installed the plastic bushing.
8. Hooked servo up to 12 volt battery and ran full out and full in and measured for center then ran to senter position and clecoed it to the support bracket.
9. Installed the cotter pins in the slide tube as per plans, cut to length and bent. Installed the slide tube in bushing and other end to the servo arm. Looks level and straight.
10. Ran servo full in and out and checked for any binding or clearence issues while moving controls fully as well. It didnt have any problems.
11. Screwed the servo in place and attached the arm to the slide tube with pin and cotter pin.
12. reinstalled the trutrac servo and then checked again for smooth operation. Check good.
See Additional entry for more pics
Slide tube drilled and cut and cotter pins installed
Template in place. See that the cut out area is already done basicly. Real close to other bracket too.
All hooked up. Trim servo is lower left corner. Other brac is for autopilot