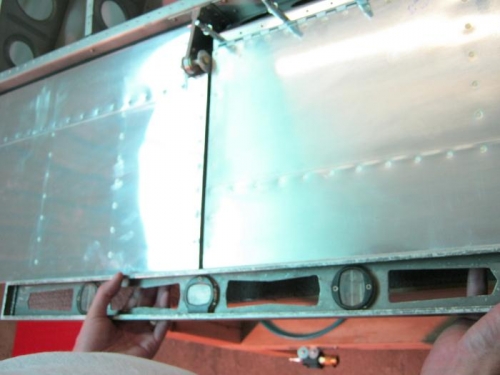
1. Positioned the flap and falp piano hinge along flap brace. Set the gap between aileron and flap to 1/4" and also lined up trailing edges of aileron and flap. Clamped in place and marked along the hinge pin edge so I could seperate the hinge halves and clamp in place better for drilling the holes.
2. Drilled the piano hinge to flap brace and wing skin.
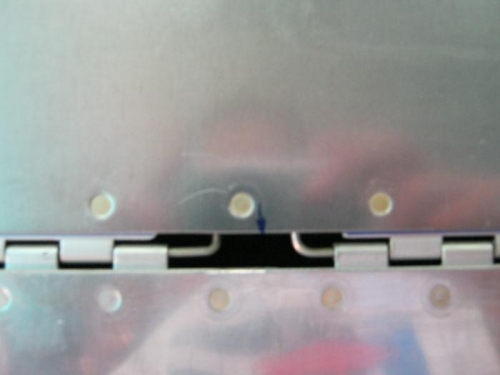
3. Marked center location to remove two eyelets from wing hinge and 1 eyelet from falp hinge.
4. Removed the hinge and cut the eyelets out with dremel. Deburred everything and reassempled just the wing side hinge for riviting.
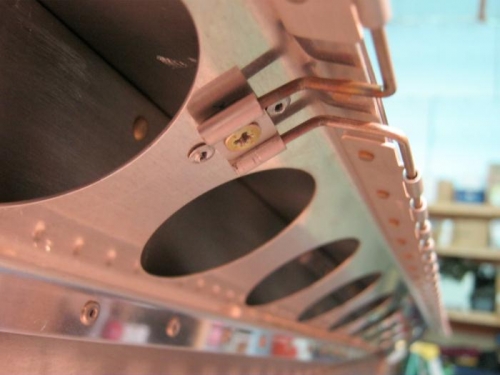
5. Fabricated the hinge pin locks with two of the eyelets previously cut out. Drilled a center hole in them for a #8 screw. Positioned and drilled a platenut to flap brace and secured it to the backside of the brace with blind rivits.
6. Measured the two hinge pins for needed length and marked the 2 bend locations on each pin. bent the hing pin to match the flap brace angle using torch to soften the pin before bending it.
7. Attached the flap to the wing and inserted both hinge pins securing the two ends in the center holding eyes fabricated earlier.