I pulled the anti-lock pins out of the receptacles along the right side to make it easier on the installation/removal of the top cowling. I then checked the height of the five studs along the aft right side and then removed the anti-lock pins for those receptacles. The anti-lock pins for the lower cowling were also removed. I installed the top cowling, tightened all receptacles, and applied additional force to the back of the top cowl by clecoing brackets along the cowl. I marked the next holes for enlargement and found that they had to be moved in one direction or another. The Unibit was used to move the holes in the proper direction. I then drilled six more holes in the top cowling for grommets. The grommets and studs were installed and the top cowling was installed. The one grommet in the thicker part of the cowling was removed. I used the die grinder to remove material so that the grommet will extend and the snap ring will snap over the grommet. The cowling was put back in place. The bottom cowling was removed so that the anti-lock pins could be reached and removed along the aft top line.
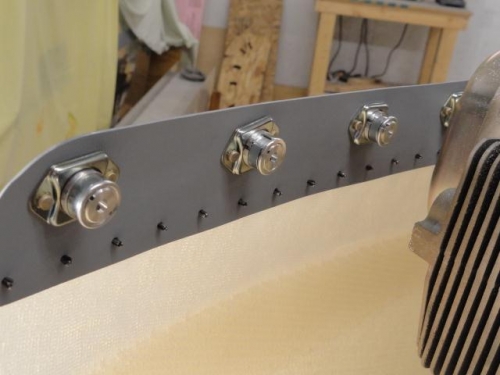
The anti-lock pins have been removed from the right side
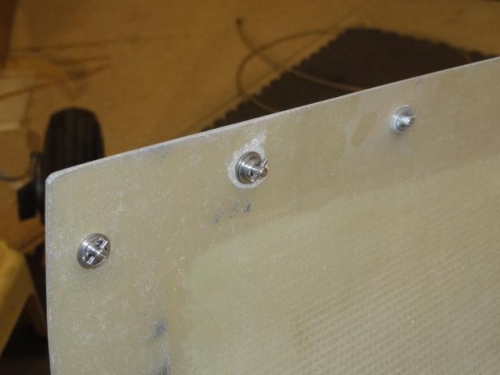
The center grommet had material removed from the cowling hole area