Brief Description: Made First Cuts of Perimeter of Canopy
I purchased a second battery for the multi-function tool. Using the multi-function tool, I continued to cut the excess flashing off the canopy. I discovered that the plexiglass did not like cooler temperatures. When I was just starting to make cuts, I flexed one edge of a partially-cut flange and it snapped off in my hand. Luckily, no cracks were started. The temperature in the shop quickly warmed up above 80 degrees and I had no further problems with cracking.
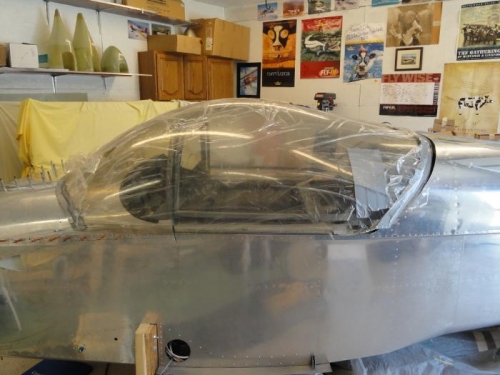
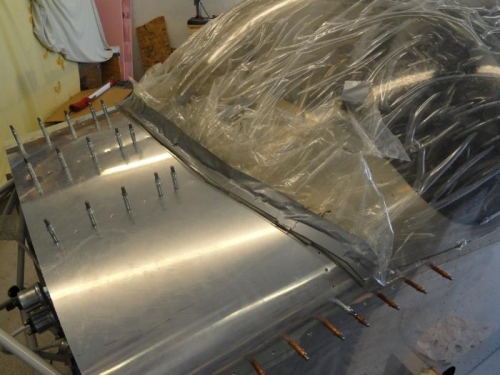
After making the first cuts around the canopy, I polished the edges with the scraper and the #220 & #400 grit sandpaper. I taped paper on the canopy frame and over the instrument panel to prevent shavings from flying around inside of the panel. I placed the canopy back on the fuselage and made more marks for trimming. This time I trimmed more material off with the canopy in position. The aft edge was trimmed so that the canopy laid inside of the aft fuselage skin.