Brief Description: Started Work on Canopy/1st Trimming of Canopy
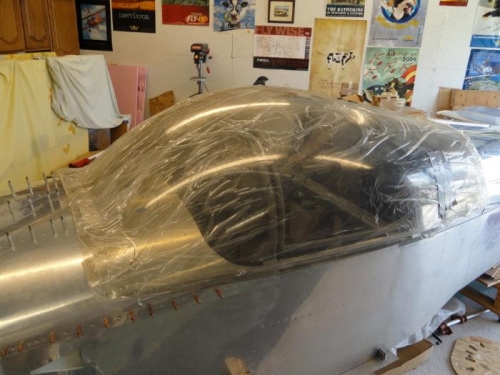
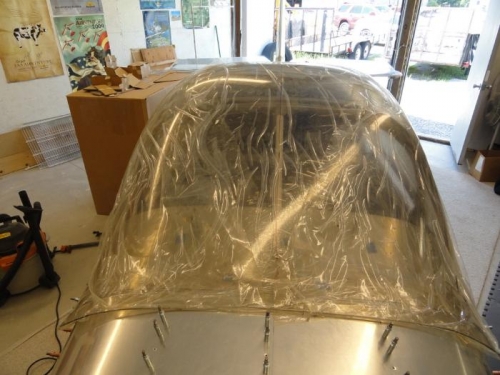
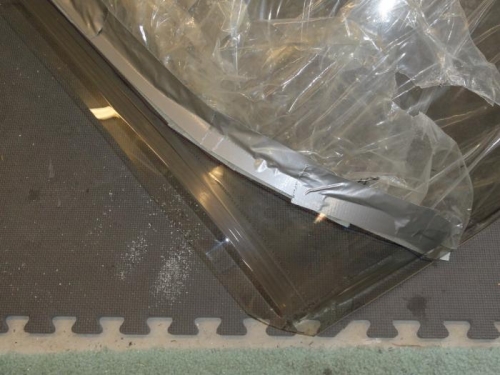
I used string to determine the centerline of the canopy. Emmett and I laid the string from side to side, found the center of the string, and then marked the canopy. We did this five times along the canopy. I then used the laser level to shine on the canopy to see how the lines lined up. They all lined up, excepr for one mark. Using a straight-edge, I drew a line from the aft to the front of the canopy. I laid the canopy frame inside of the canopy and moved the frame around. I found that the frame had a sweet spot in the canopy. I drew lines around the canopy frame on the inside of the canopy. Emmett and I peeled back the plastic wrapping from all of the edges and placed duct tape along the new cut edges of the wrapping.
The canopy and frame were placed on the fuselage and the markings were checked. It looked like everything lined up, so we took the canopy off. I started to cut some of the excess flashing off with the new Sears multi-function tool I had just purchased. I decided to use this tool before using the cut-off discs that came from Van's. I found that the battery did not last very long, so I would need to get a second one, to keep things moving.