Brief Description: Drilled Attach Holes in Bracket/Cabin Heat Install
I needed to use the same attach holes in the new control cable bracket as the old bracket. The new bracket is a few inches shorter, but, with the layout of the light switches, I can use the same alignment of the bracket. The holes can still be centered between each cable and the positioning of the bracket will not seem off-center. I transferred the position of the old bracket's holes to the new bracket and drilled them for #6 screws. I then drilled holes along the bottom of the bracket for screwdriver access. The access hole for the last hole on the right was drilled thru the side angle. All of the holes lined up!
The cabin heat control cable had to be hooked. The routing was done as before. I spent a lot of time getting the cable end bent around the bolt after it had gone thru the access hole in the bolt. I finally got the end bent and tightened the nut. The cable was run thru the three Adel clamps, which were tightened. The control cable bracket was then screwed into position under the panel.
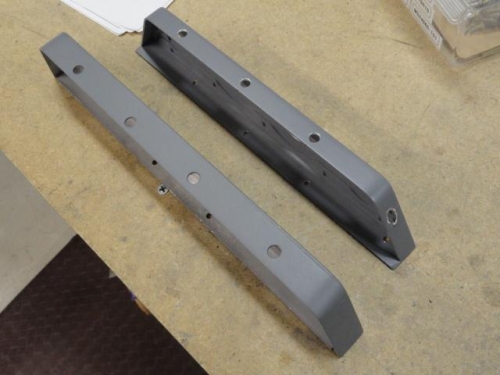
The access holes in both brackets
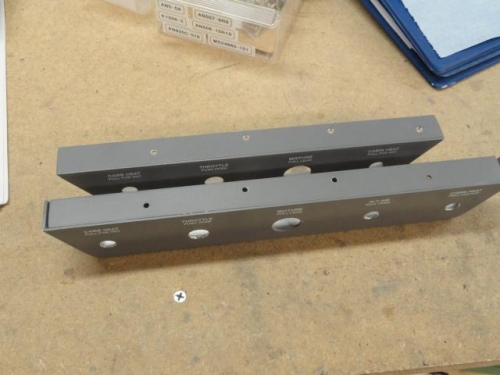
The screw holes in the brackets
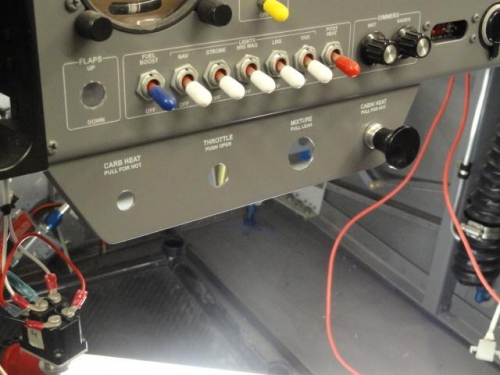
The new bracket in place, with the cabin heat control