I cut off one side of each of the two brackets for the AOA CPU and cleaned up the edges. These brackets were primed, along with touching up the shelf. I screwed the dimmer, the ignition control box, and the AOA CPU to the shelf. The cooling fans were then screwed into position. I screwed the shelf into position under the ribs. I added a few clamps for stabilizing some more wires.
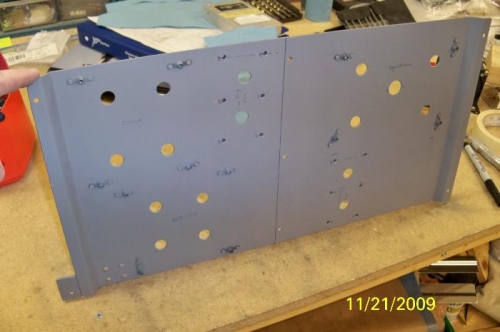
Holes drilled in the shelf for cooling and lightening
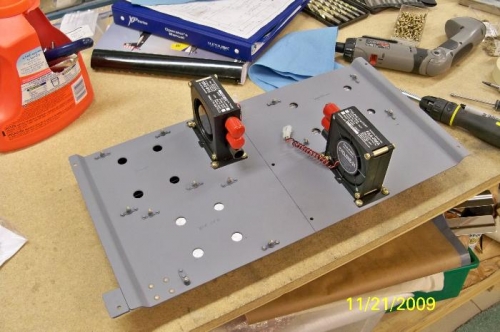
Cooling fans screwed into place
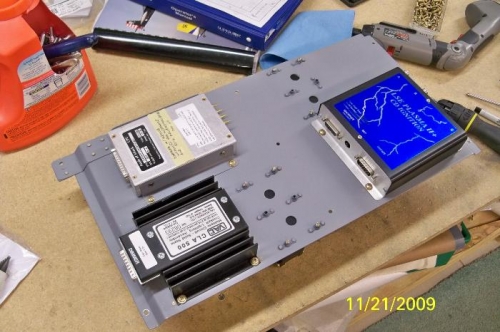
The underside of the shelf-AOA (silver), light dimmer (black), and ignition box (blue)