Brief Description: Glass Cloth Epoxied and Laid in Position
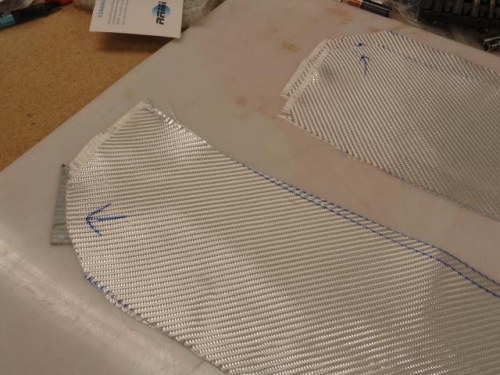
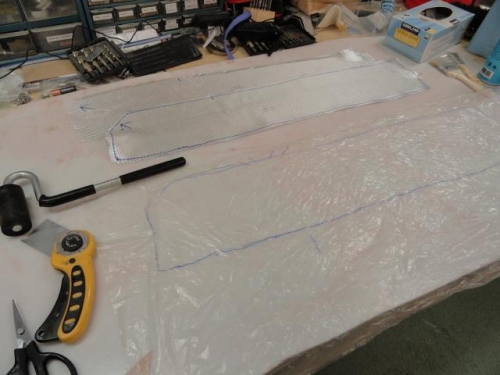
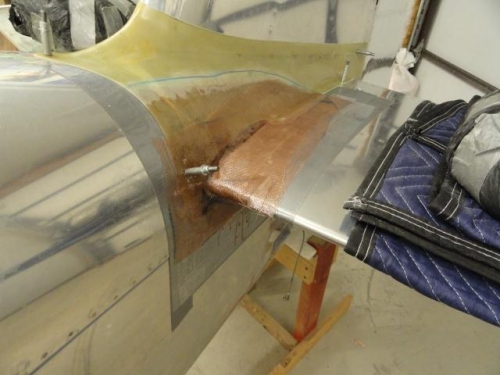
A batch of epoxy was mixed up and then spread on the fuselage/HS and the underside of the fairing. This was done so that the epoxy would start getting tacky and grab the cloth when the cloth was laid into position. The cloth pieces had corners cut off each piece. This was done because of the area sanded on the fairing did not extend far enough for the corners. A plastic sheet was laid down and the outline of the cloth was drawn on it. The epoxy was mixed and spread on the plastic. One strip of cloth was placed on the plastic and more epoxy was applied, ensuring that the cloth was entirely wet. The rest of the plastic was laid over the cloth and the plastic was squeegeed with a roller. The cloth was cut out and then laid onto the fuselage and HS. The first piece was laid on the left side and I found that I had not counted on the cloth wrapping around the leading edge of the HS to cause a problem. The cloth did not lay around the leading edge very well at all. I remembered that I had a pair of Kevlar scissors and got them out. The cloth was cut along the leading edge and also around the fuselage juncture. This allowed the cloth strip to lay much better on the top and the bottom of the HS.