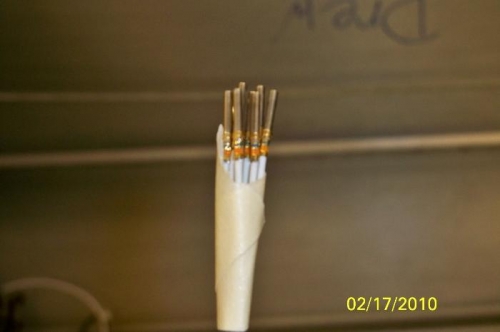
I bolted the strobe power supply in place, after Steve made the connections. I crimped the eight wires for the pitch servo. I used the DMC crimper, using the 13-1 positioner and the dial set to 6 for the 22ga wires. I changed the dial to 5 for the 20ga wires. I clamped the OAT/EDC wires in place, after the connector was put together. I placed a foam-backed tie-wrap base on the underside of the aft topskin and tie-wrapped the OAT wire to it, to prevent the wire from banging around. I placed two more tie-wrap bases on the floor by the strobe power supply and tie-wrapped the ELT wires to them,
I made a 1/4'' diameter clip for the static tube, using .016 material. I then drilled a #30 hole on the underside of the left canopy rail and pop-riveted the clip in place. The static tubing was then placed on the clip.
The pitch servo wires with connectors crimped in place