
|

|
|
|
Greggs RV-4
|
Date: 2-2-2013
|
Number of Hours: 4.00
|
Manual Reference:
|
Brief Description: Drilled holes for conduit, located top main skin
|
|
Got a lot done today for four hours. I cut 1" holes in the main ribs so that I could install conduit for wiring. I WAS going to use brackets and adel clamps through lightning holes, but the weight penalty was nearly 4 times that of the snap bushing option. Also, I couldn't find a way to run the conduit through the lightning holes that provided an acceptible amount of clearance between aileron controls/push-pull tubes. **NOTE: If you choose to go with the snap bushing method like I did, drill the holes on a drill press BEFORE assembling the skeleton. It is a @!$%& to drill these holes with the skeleton permanently attached.**
I looked at several online aircraft parts/hardware sites, and actually found a WAY better deal on the snap bushings from Grainger. These ARE the SAME PART # HEYCO snap bushings that can be found on Spruce, Wicks, etc. Grainger had them for $3.03 for a bag of 25. I ordered 2 bags. They require just over a 1" hole. I drilled a 1" hole with a hole saw, and then cleaned up and smoothed the hole with sandpaper. Perfect fit for the bushings. I will be running 3/4" PEX pipe for the conduit, and it fits smooth in the bushings with no slop. I will brush primer on each hole I cut, install the snap bushing facing away from the rib flange to make it easier to rivet skin on, and will lightly seal each bushing in place to make certain it stays put.
I finished today by having Jim come over and help me hold the single piece top skin up to locate it on the spar splice line. I have it drilled at every rib at the spar flange.
|
|
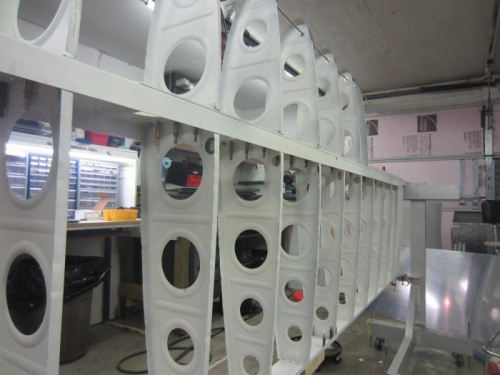
Conduit holes all drilled
|
|
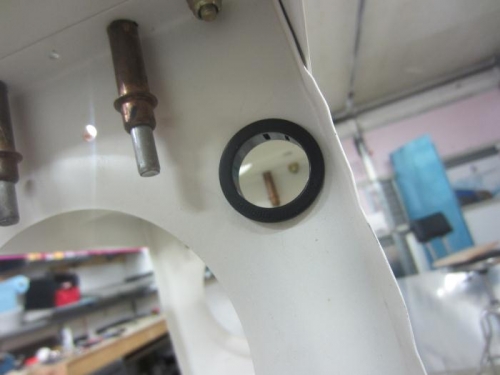
Test fit of snap bushing
|
|
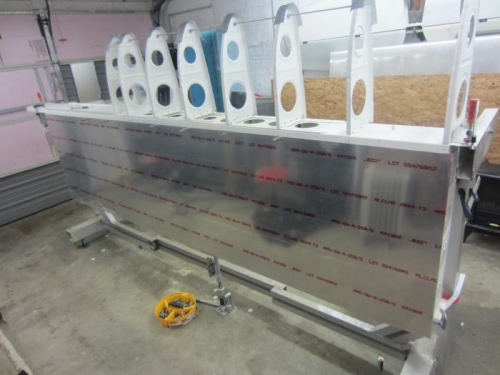
Started drilling top skin
|
|
|
|
|
|
|
|
|
Copyright © 2001-2024 Matronics. All Rights Reserved.
|