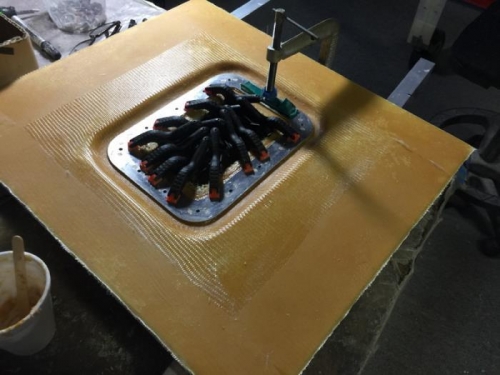
Yesterday I floxed on the lower hatch ring as you see in Pic 1. This morning began with cleaning up the inner space around the ring which left me with a good half inch of exposed foam to deal with between the top and bottom surfaces.
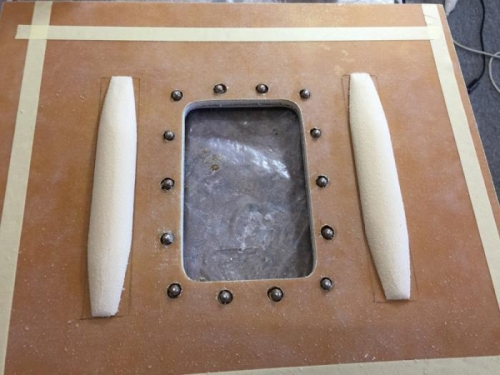
I carefully made top and bottom channels for a flox corner, next up was making a couple of stiffeners for the top. I checked where the lip gets bonded, put it in place in the back seat and found it was pretty ridged but did flex slightly in the middle. Well I want to be able to stand on this sump without a second thought.
I made up the two foam pieces a bit like the Chapter 3 'confidence piece' you make in that education chapter. For very little weight I should get a big increase in lateral strength. Bolting on the hatch will help too.
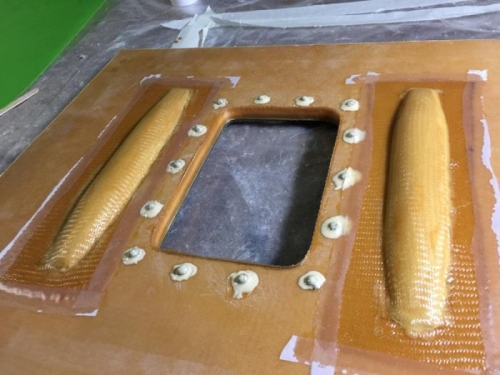
Pic 3 and if you look carefully you can see I have a ply of glass and flox corners on the inside edges of the hatch. I used very dry micro to fill the backs of the nutplates so I don't get fuel seeping into the foam. Then I did a two ply layup on the stiffener pieces and peel plyed the edges.
Another days work done. This hatch is just about finished too. I just have to clean up after the cure and take a few happy snaps.