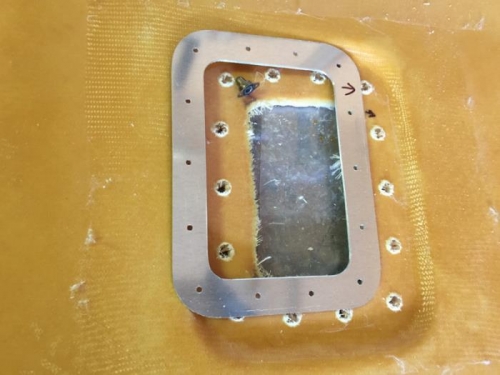
I used the pre drilled holes to 'mark' where to start the access cavities for the sealed nutplates. This is pic 1. Next up was adding the nutplates. This was the usual process of drilling holes for the rivets, countersinking them and hand squeezing the hard rivets. It always takes a while.
I had decided to roughen the aluminium before the nutplates too so I had a good scratched surface to flox into position. I didn't bother with alodyne. The aluminium is alclad and I don't really know if alodyne could possibly contaminate fuel. I have no idea so I left it out. I can use my alodyne stick later if I feel the need to treat the top surface.
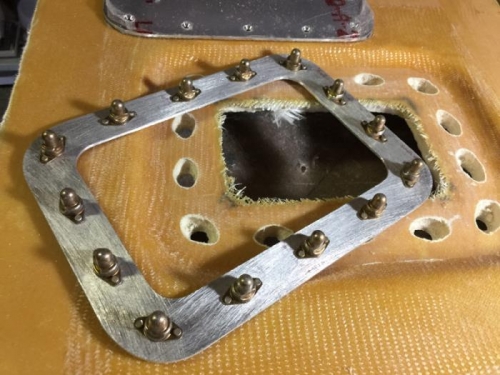
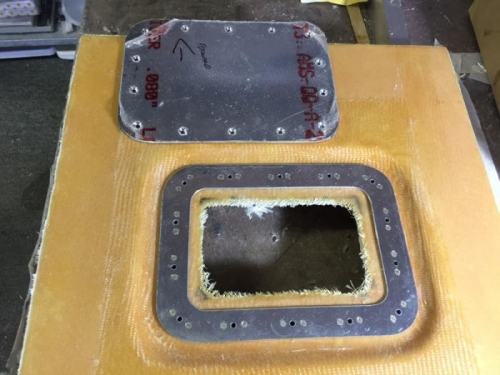
Pic 2 shows that I have had to do a lot of drilling and fitting to get the port sitting nicely and flush on the sump top... pic 3 shows I have achieved this.