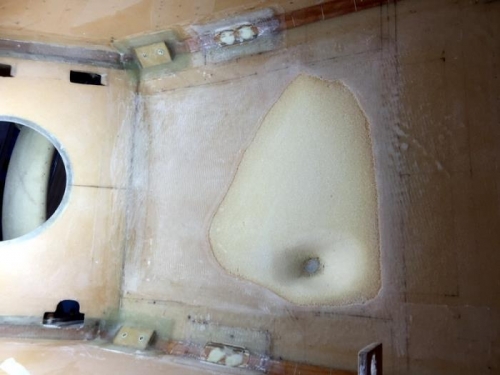
The sump floor took me about a day and a half to carve. Its just the floor in the back seat. I'm imagining the plane on its nose gear with the gear slightly down. Its morning and I need to check for water in the sump. So this is the position that I carved the sump floor out for. Back a little from the sump wall which will be the lowest point. Any water should flow to here and then into a large drain hole area you can see in pic one. If there is any water I hope it will pool below the fuel pickup too as a bonus should I miss any in the morning checks that were somehow hidden in the wing tanks.
Meanwhile I have aquired a 1/8 NPT tap and have an aluminium slug with the hole taped for my fuel drain fitting. After some thought I decided to do a ply on the floor first so I could later flox in my metal fitting with a glass bond rather than foam. I also have a bit of glass to glass on the floor of this sump area which I alway like for a bit of extra strength.
The fuel tap will be under the line of the fuselage bottom but by the time I do the NACA scoop it should end up just about flush.
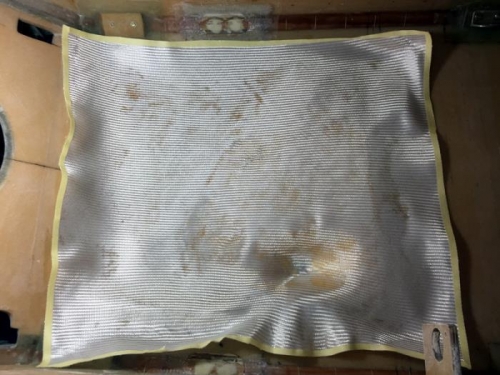
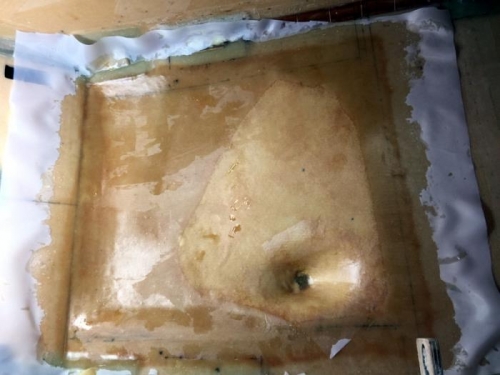
Meanwhile, Pic2 shows that I have cloth with the bias at 45 although the pic doesn't show it! and I wet it out and then trimmed it to size. Pic 3 is after peel ply on a pretty wet layup. Which is not pretty. I am planning on no leaks. The peel ply I have quite wet too which makes for terrible photos!
I went for 3 separate and complete layups in the end. So thats three ply in the bare areas and 5 ply where the floor was not breached. Quite enough.