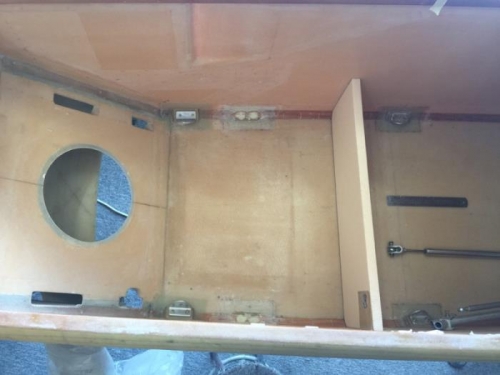
Once I started working out the location of the common fuel sump it became clear that the rear seat belt attachments were in the way.
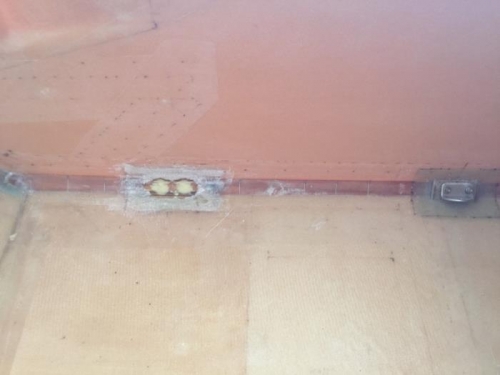
I used a high wattage soldering iron to heat up the screws in the old attachments to get them out as they were imbedded in flox. It took a while but they came out very cleanly. I filled the holes with micro after spending several hours removing the 7 ply layups and wooden hard points. Why carry the extra weight? Its only my time...
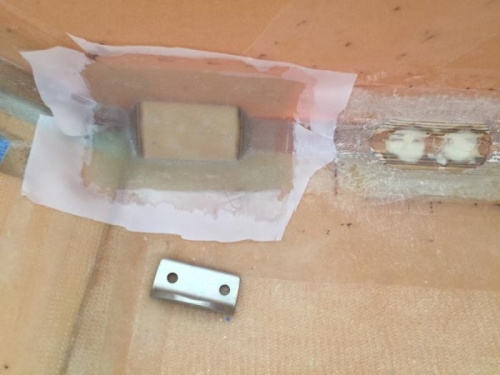
I located the new seatbelt spot about 7 inches aft. It still works as a good position for belts. As before I made up the plywood inserts and floxed them into position. After cure and a clean up came 7 plys of BID per plans and more peel ply. Finally I located the 2024 aluminium angle after cleaning them up and re alodining them to drill two holes for each side.
Then I went to the outside of the fuselage and ground away material with my dremel so the screws could seat without protruding. Finally I just let them sit there loose! The work is done except floxing in and I might hold off until the common sump is done. This way I can keep the angle away from all the layups that are associated with the sump.