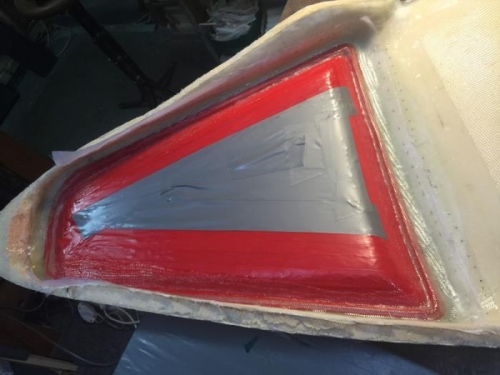
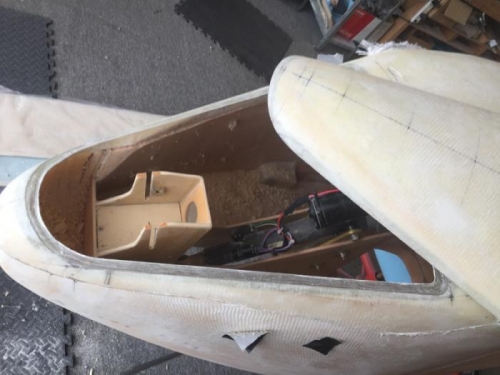
After the I.P. hatch I moved forward to the big nose hatch to do the edge lip. Before starting I spent a couple of hours more playing with the nose light and yes I can now get it in and out easily. Of course once the heated pitot goes in that would have to be removed first as it will be in the way.
It worked out pretty well. It's a bit tricky as the nose is so thin at the sides on this cut off piece. I hope its going to go back on OK. It tended to distort its shape and again a small amout of filler will be needed for a perfectly flush nose. Its pretty close now.
Of course if you have read this far without falling asleep you may be wondering how I'm going to secure these things? Where are the screws going? Well I'm not having any.... thats if the idea in the next few logs works out.