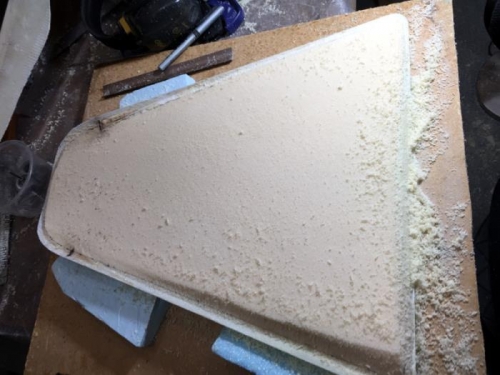
Having cut out the nose hatch I spent a couple of days removing some of the foam thickness and preparing an area at the edges of about half an inch pure glass.
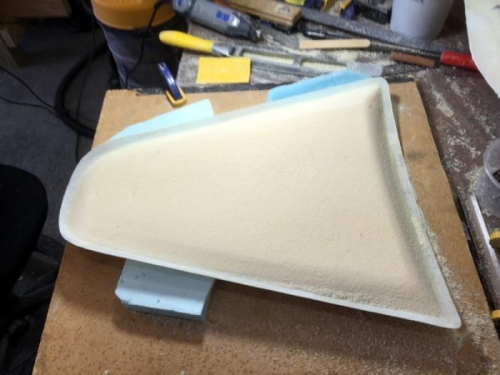
The sanding took a while but it finally imerged as you see in pic 2. This part of the hatch work is pretty straight forward. In retrospect I could have hard shelled the foam as prep. It had quite a lot of open cells despite all the sanding. That said I microed in the usual fashion and then added stiff micro in the more open celled areas.
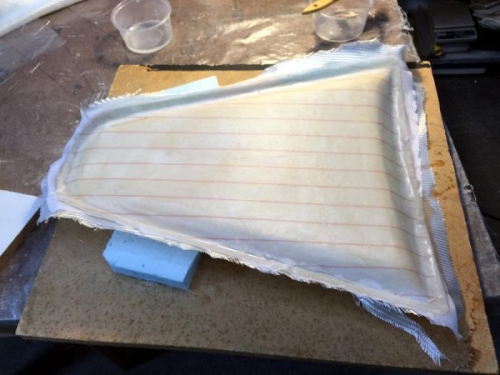
Finally as you see in pic 3 I'd layed up one ply of BID and then peel plyed the lot just to be tidy. I think I'll go back to the old thinner peel ply. This stripped stuff is thicker and it kept bubbling up after a hour or so. I spent the night checking in and pushing down bubbles as the epoxy started to go off. It should be fine, it is not a structural piece although it will add to the strength of the nose area by filling in a giant hole!