With the screws in place and the ailerons lined up I just have to install the clickbonds now. All that extra padding on the inside has that hinge area very secure and I'm happy about slightly inlaying the clcikbonds with my dremel.
I'm not going for perfectly flush. I'm sure a tiny bit of filler will happen later when the wings are finished. That said I don't need a big bump either. I'm going to flox these in and then in a separate cure cycle add a thin ply of glass on top. I've tested this method with success.
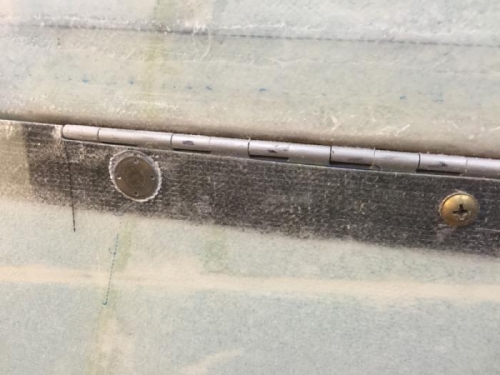
Pic 1 shows a trial fitting. You might notice 4 small holes which I've added to every clickbond so the flox can grab them to prevent turning. My test showed this isn't really necessary but being holes they truly weigh nothing! ...and add strength to the bond.
I'm just doing one or two of these at a time. After cure you have to get the hinges off and its a struggle no matter how careful you are with excess flox and release tape.
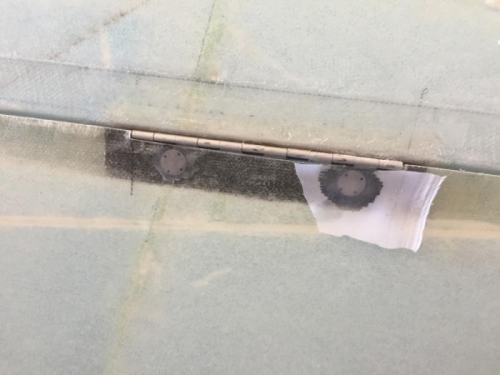
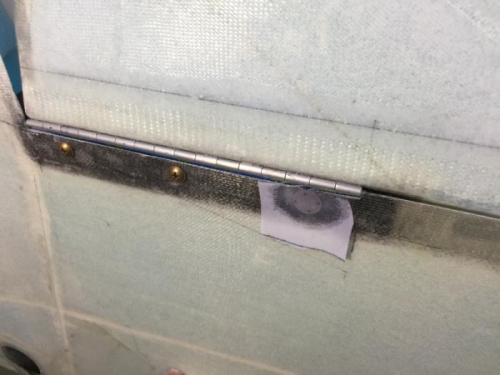
Pics 2 & 3 shows this. While its a full day cure cycle having two wings is keeping me busy. I'm sure if I did all the clickbonds at once it would be no fun getting the ailerons off.