Today was the left wing aileron trough. Having done the right one one this was straight forward although I did seem to spent more time getting the air and bubbles out.
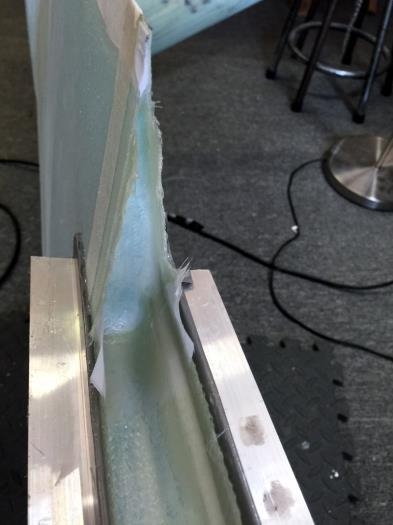
Pic 1 shows that little end rib area. I just added a 3 ply piece here overlapping the long main layup. Such a simple way to do things rather than all in one piece wetted out in place.
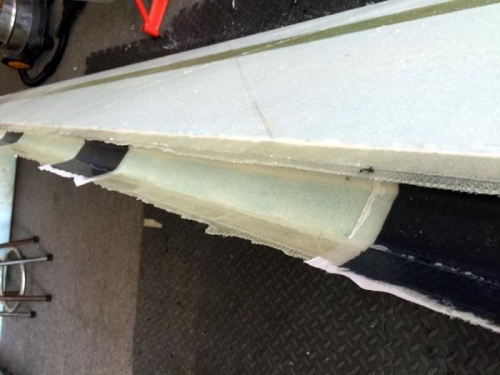
Pic 2 shows the other wing now I have the clamps off. The suggested method of knife trimming for the whole build I just don't get. You'd think the glass would be disturbed and need patting down again every time and when do you put clamps on? I like doing my clamp thing and just a few extra hours work after a full cure.
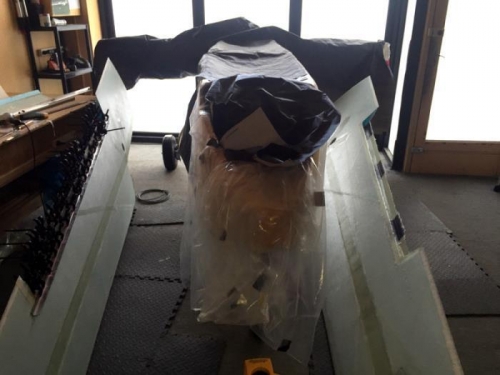
Pic 3 shows how little room I have with the wings on the floor. Once done they get to live on an overhead shelf. At the moment I'm stepping over things to get in and out of my house. Normal for an airplane builder...