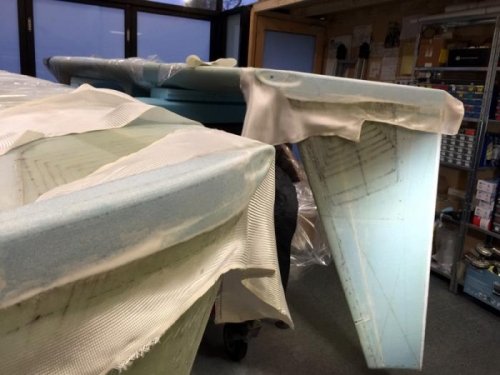
Departing from the plans I've gone for two plys of BID rather than UNI and no joining tapes. The plans have you glass the winglets and then join them with 2" wide tapes. I've joined the raw blue foam, shaped in place and then done the layup overlapping the winglet about one inch. I even overlapped at the rudder where it will be cut off with the idea that I can get a nicer match to the winglet and can just transition the extra glass, also getting a bit more strenth on the bottom part of the rudder where the bell crank is.
I microed the foam, filled a few gaps and transitions with very stiff micro and just drapped the BID over the part. A roller worked really well to get epoxy on the glass and lay it all down evenly as you see in pic 1.
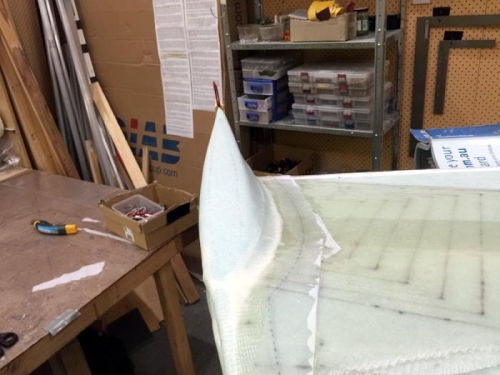
I trimmed with sissors and did the second ply about 1/4" shorter to transition the bump. You can see the profile in pic 2 and 3. I did a glass to glass right at the end and used a few sticks and clothes pegs to finish off. I'll see how that goes when I trim it after cure and see if anything more is needed.
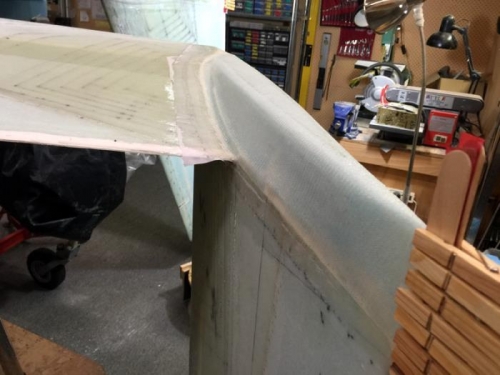
I have 3" of height back there to protect the rudder and give a fence to span wise flow. If the plane ever tips backwards and does damage, it will be a basic fix. I'm not going to carry around extra glass and weight that might never be needed. If it scrapes on tarmac it will need a repair no matter if I put kevlar or anything else down there.