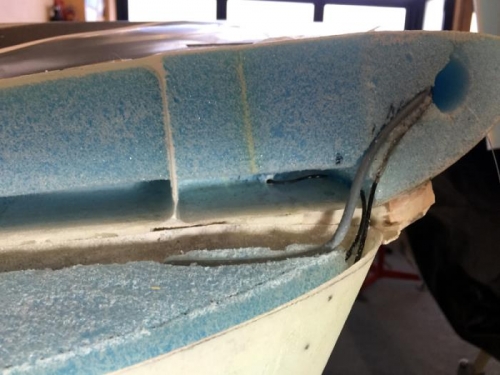
This was over several days doing the inside layup #1 for the left winglet. After cutting out the inside troughs I joined the HP antenna ends, tested that all was good and then positioned them along with the VHF wire. I am concerned at their proximity but I'll never have both on at once so it may not be an issue. The strobe wires will run here too and I can just turn them off if necessary.
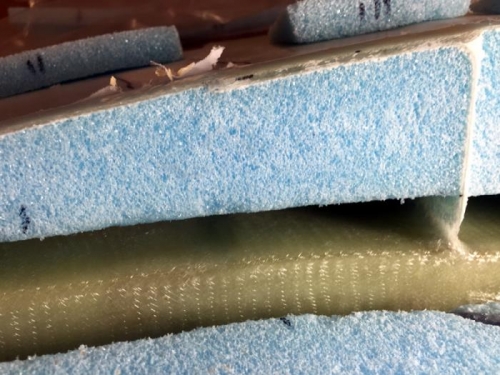
As done with the right winglet, I made foam inserts with spacers and preped the glass areas. Pic 2 shows the 8ply of BID in place before the wedges are floxed in. It was a little easier this time as I knew what to expect in this tight area. Its easy enough using a few sticks and probes to get the glass sitting in the right place.
Pic 3 shows the foam blocks done. I kept the room warm at 26C for 24 hours and then trimmed that wedge area and started on the bellhorn cutout. I'm looking forward to getting this wing structurally joined. You can also see in the pic how full my room is now with both wings, fuselage and just a little space inbetween.
I intend to get the wings finished to micro stage and then wrap them in black plastic and store them on the new high shelf and move back to the canard finishing work. Thats going to be a month or two yet.