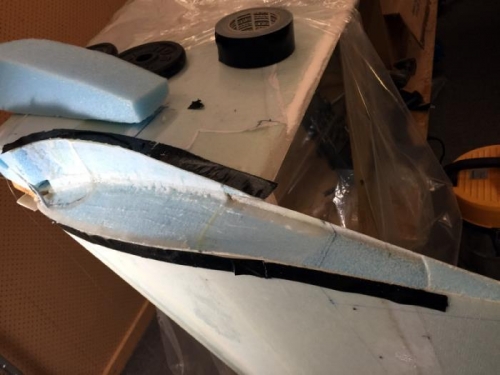
This is the second winglet join structural layup. I spent the first part of the day still working on the rudder bellhorn pocket. Then it was warm up the room to 26 C and cut the glass for the foil layup. I made the pieces about 8" wide with the first two 17.5" long and the other 3 pairs of 2 12.5" long. Pretty much plans in design but I didn't go all the way to the trailing edge of the winglet. Just to the cut line of the rudder. I'll do a separate layup for the bellhorn pocket.
Given that layup #1 had flox filler and this one needs flox corners I went with a flox slurry on the foam before the glass went down. First time for this. I just didn't want to mix micro and flox here so either pure epoxy or flox slurry was my idea. The extra weight is minimal over micro in this small area... it seems to make more sense as I already have some exposed flox from the previous layup that we are bonding to. I sanded what was showing that so we have glass to glass or some flox where its not a perfect mate.
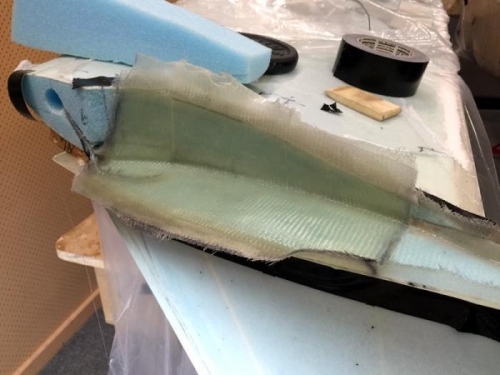
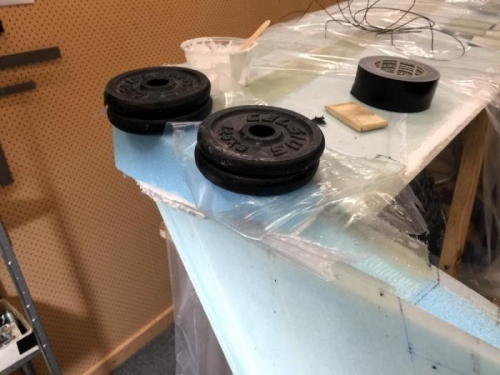
I did the 8 plys of BID using foil as you can see completed in pic two. Pic 3 shows my previously fitted foam block that you can see in pics 1 and 2 microed in. Yes micro, per plans, which makes sense as its going onto the foam and it needs to fill any and all air gaps. I did slurry the foam before this as usual, then troweled in some micro to the join and squeezed it out.
Finshed up with some weights (not exercise, just as in pic 3) and another long day where I didn't even go outside.. just worked through from morning to a late dinner.