I've been a bit stuck on how to do this step. The method in the previous log entry really didn't work out for me. I tried a few other things and then put the job off for a while -grin-. I made more templates including one out of aluminium so I could get some marks but dragging it over the curve doesn't work for me.
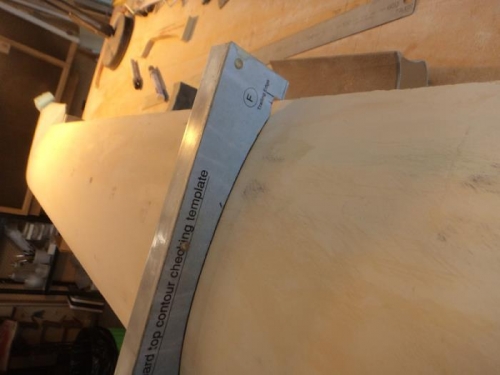
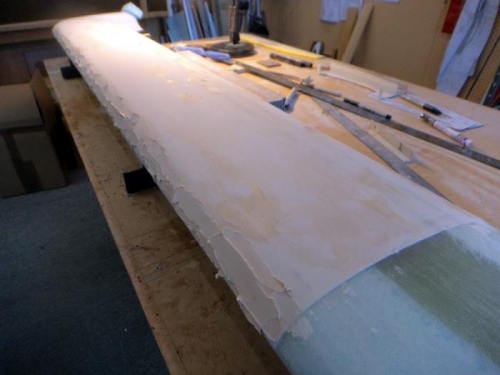
Long story short, I'm using my steel templates, the long permagrit block and using a marker pen to find the high spots as you see in pic two. See the dirty marks just forward of the template? I have to be careful to position the template so it matches a line at the leading edge and hooking on the trailing edge. I also have to keep remarking the template edge so I get a bit of ink on the filler surface. After a lot of false starts it seems this method is going to work.
I'm staying a bit shy of the LE so I don't loose the line and I'll flip it over and do the bottom before returning to the top the complete this area once the rest of the profile is done. Pic 3 shows I had to add a little more filler in a few divets and low points... which invalidates a lot of work already done. Yeah I've done this a few times. I remain committed to do my best work here.
I'll probably get a good, but not perfect profile sorted out then get the plane off site to mount the wings and canard to the fuselage. Of course with the canard profiling pretty good I should get the incidence correct. Then a post cure of the canard before the final near 'perfect' profiling and epoxy wipe stages. Yeah....this will be fun to look back on hahahah.