Not a huge job but it took most of the day. It is a really important part of the plane to get right. Just about everything hangs off the lift tabs. So I took my time.. mainly so they would be put in the right way around and with no damage to the nut plates.
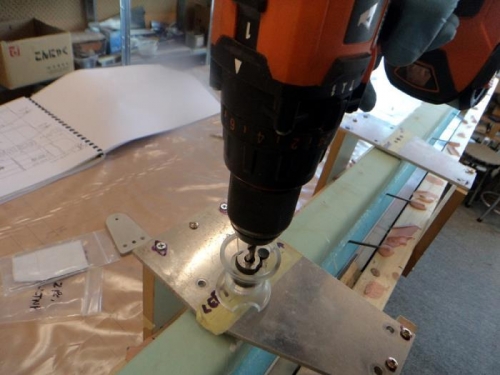
I repositioned the drilling jig and used my egg cup jig to help keep the drill straight. I was very careful not to drill into the plates and stopped when I was just at the RTV. I picked that out pretty easily as all there was were little plugs and it didn't gum up the threads as has happened to some other builders... thanks for the heads up guys.
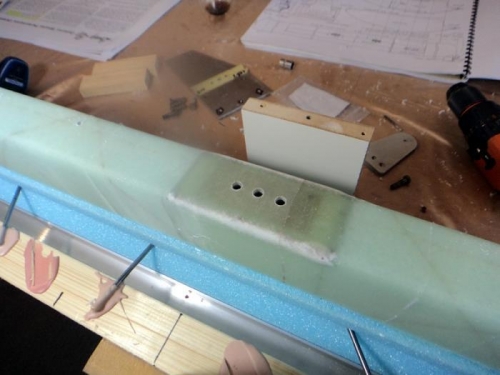
Pic two shows the holes which were in the exactly correct positions as expected. I re cleaned the parts to ensure no grease or moisture then mixed up a little flox.
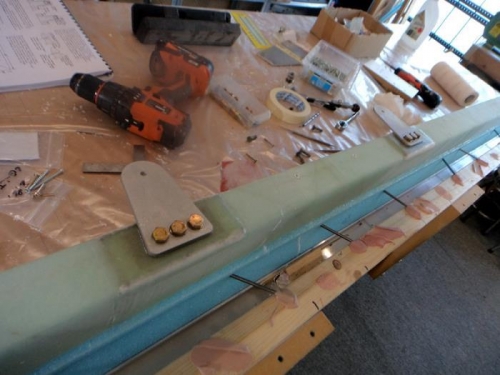
I checked carefully by measurement that the AN4-7A would not bind on the shanks. Then with flox in place after a pure epoxy wipe of the parts.. and a previous light sanding and clean of the glass layup, on went the lift tabs.
A couple of the bolts felt very tight at the start so I chuncked them in the bin and used new ones. Maybe slightly better threads or just a slight bolt variation. More likely I was overly worried about this critical part of the build. I got my 6 bolts in correctly, without damaging the threads or having to remove them (the discarded ones were early on) I then torqued them up at 60 inch pounds. The range is 50-70 for an AN4. Plans say about 50 and I felt best at 60 so thats just me being happy.