Top skin today. This is three plys of UNI a reinforcement at the tip and a minor hardpoint layup with a few bits of peel ply.
Micro for the blue wing foam took about 3 hours using brew #4 (see entries under 'tests'). Then a little stiffer micro for a few dings and around the spar cap edges and finally flox for the 2024T3 hardpoint edges and the wing bolt entry cavity.
Michael Wood was again my 'partner' on this layup. We have done the top and bottom skins together now and the improvement in technique and working together ensured a quality of work that I am very happy with. It took a long time but this included breaks and no mistakes really. To do this work well is going to take from early morning to dark, there is no escaping that it takes time. The main variable is improving the enjoyment of the work through learning.
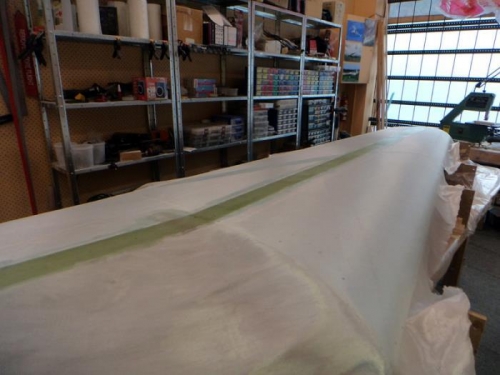
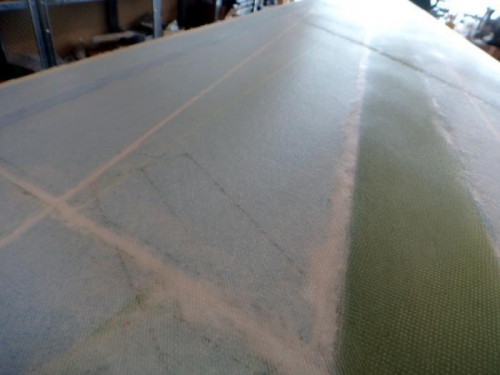
Pic one is the first skin going on with just the cap wetted out at this stage. A roller is used with a microfibre head. Second pic gives you an idea of how our glass looks after wetting out and then the squeegy. The white underneath is micro in the joins, the point is how crisp the glass looks. Its easy to see on the cap. The whole wing looks good.
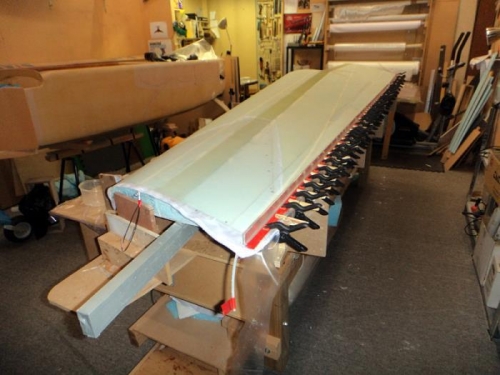
Pic 3 is the obligatory... 'all finished and what a lot of clamps!' photo. The trailing edge is secured to some aluminium to keep it straigh while curing. I keep the room at 26C for 24 hours after jobs like this to ensure a full cure before touching anything. That said, we finished a few hours ago and its already feeling pretty dry to the touch.