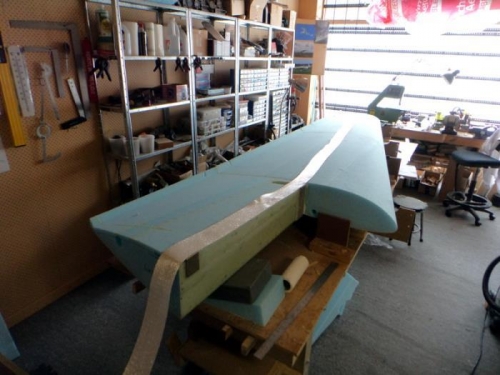
After the bottom skin layup had cured I needed to flip the wing over and get it back in the jigs, secures these to the table and ensure the wing is as straight as possible. That took a day or so. The jigs are little more than rough holders and I just add a few things to help the wing stay in the right place. Bits of wood, mixing sticks, whatever.
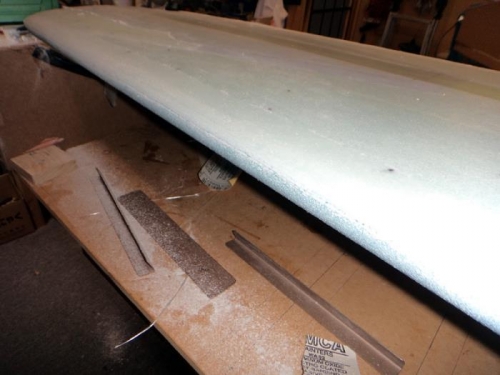
The leading edge then needed carful trimming after the bottom skin at the point of pressure or the pointy bit if you'd rather call it that.
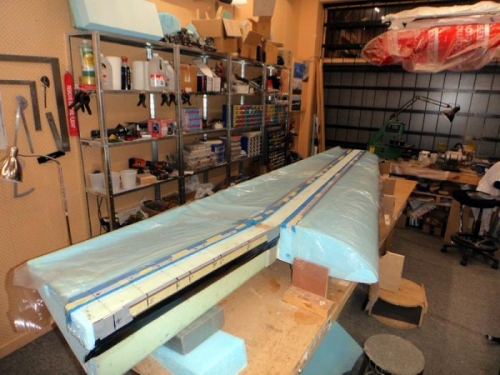
Next up was marking out when the various lengths of UNI cloth goes and cutting these to size. I also unpick the key threads ready for the layup.The shear web trough needed a light sand and some micro at the foam join which was two cure cycles with sanding inbetween to ensure a good bond.
I always write up a plan for the layup day with the steps to follow. This is pretty handy so that things like peel ply don't get left out. Good time to recheck the plans too.
Finally a fence at FC1 (inboard) and plastic and tape protection. Heat the room to 26C overnight and ready for the layup on 14/8/14. I think it was about 4 days work or there abouts getting to this point as usual...