Over several days I prepared the wing for the bottom spar cap layup.
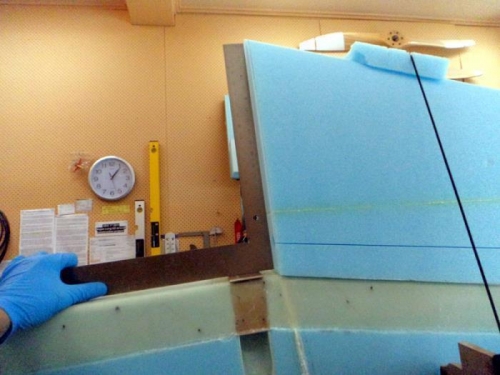
First up was trimming the leading edge block per plans at right angles to the FC1 area.. all done as you see in pic one. Just a matter of going slowly as the foam is really soft.
Then I got the wing back in the jigs and screwed these to the table. I also made a stopper at each end so the wing can not move. This work is getting easier and easier as I get a little freer with blocks of wood and screws. I have a straight edge on the bottom of the wing and just shimmed it until the straight edge on the top as in pic two was also level.
I had to add just a little micro in the wing join so there will be a nice bed for the UNI spar cap goes rather than a slot where the shear web curves. No need to fill that with heavy epoxy when I can use stiff micro.
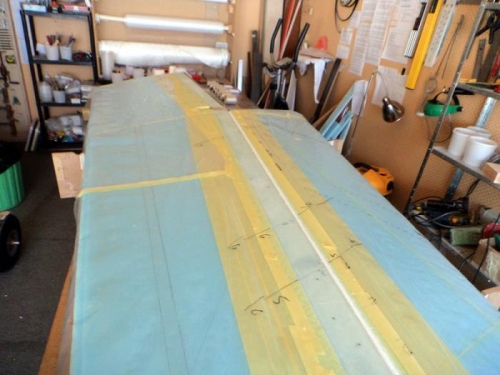
Next was a clean up and sand of the trough area, adding the fence at FC1 and later covering the wing with plastic and marking out where the tapes go. Oh I first spent an hour or so on the wing joins cleaning up the glue lines and then a while cutting the tapes to size and teasing out the key threads. Oh yeah.. then I spent a day cutting class for the bottom skin. Just more prep work. I'll recheck the twist and level lines before skinning the wing too. For now its very straight right at the cap in the center.