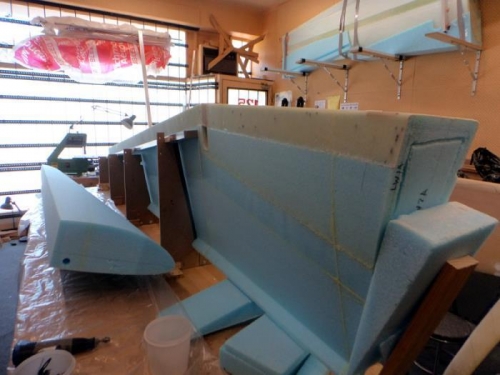
Brief Description: Leading Edge Left Wing FC4/5 Join
Having done this on the right wing it was a much easier job. It took a similar time but the process was known. I ensured the shear web surface was straight enough with a box aluminium check. Next the leading edge section got a very slight touch up to ensure a flat bottom. A few minutes with the dremel on the glue joins as well so they didn't stickup.
I knew from the last wing how much take up there is in the micro. So much of the unknown was gone. After a trial setup with the elastic staps and foam blocks I mixed my slurry.
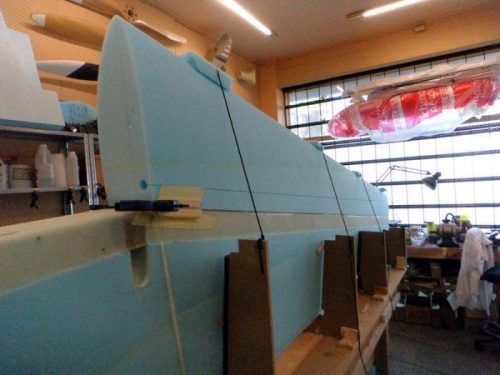
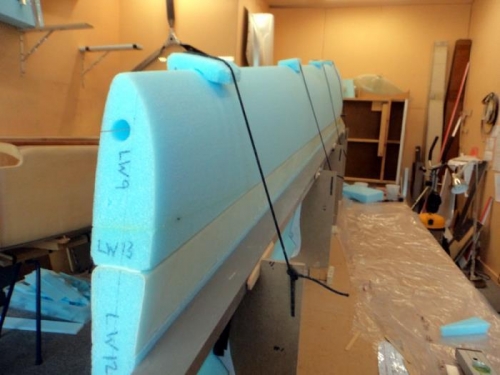
I carefully microed the FC4/5 pieces with the #4 slurry mix (1g to 0.016g), coated the shear web with pure epoxy and then made up some slightly stiffer micro per Ch3 in the plans for joining blocks. I used my smaller digital level to ensure we were pretty close to the right twist and position. Within .2 of a degree worked for me. Beyond that gets into how good your lines might be and which way you hold your tongue.
This time it worked out well. I got the density about right as it oozed out the sides very slowly once everything was clamped up with the straps. I spent a while ensuring the blocks were in the right place and used a clamp and sticks so it wouldn't move. I ended up doing the same at the tip although pic three doesn't show it. Over the next few hours I kept checking things were correct. I really have no interest in a cut and rejoin so this was worth a little extra time.