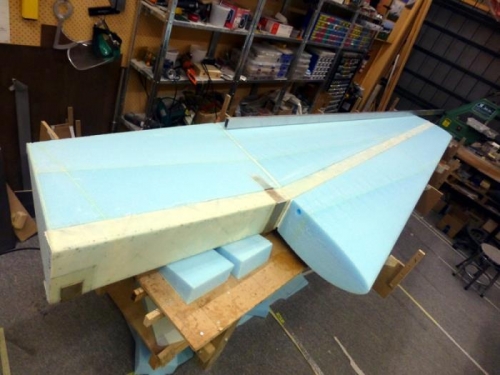
Laying the wing on the table was the first time it looked really big and like a real wing. Very cool.
I inlayed a long piece of aluminium into the underside of the jig and spent a few days getting it really straight. I ended up using little sticks, screwing and bondoing the jigs to the table and any trick I could think of to secure the wing without damage...and get it straight. The digital level got a workout too to ensure the twist was correct at the level waterlines
I aimed for straight at the spar cap area yet also really level and all that good stuff. The aluminium beam in the first pic is handy. I might get a thicker one as this can bend over its length. Its OK on the side though.
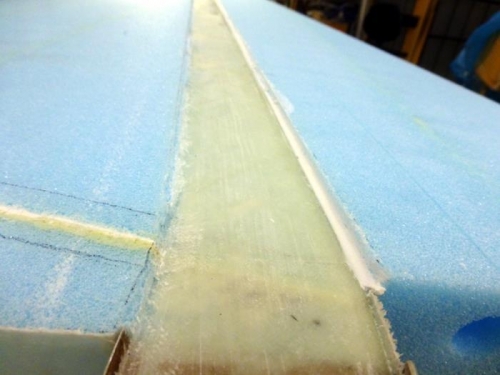
The cap trough was not 3" wide and I needed 3.1" anyway for my UNI tapes. It had a bit of a taper for some reason. I very carfully routed the area. Then thoughts about the other side which had a curve dure to the shear web and the way the top part of the wing is glued on. Ideally the wing would magically be a nice area of right angled foam for the cap to sit in. I filled with very dry micro to make a good surface to bed it down and filled a few gaps left by the earlier gluing process too.
Of course this had to be later sanded so there was no shine and a good surface for the spar cap to come.