Yes lots of sanding of the top and sides was next. I carefully removed lots of peel ply down to the spar caps on each side and then sanded smooth the edges that the peel ply left as well as the forward face that was to be glassed. This was a good days work.
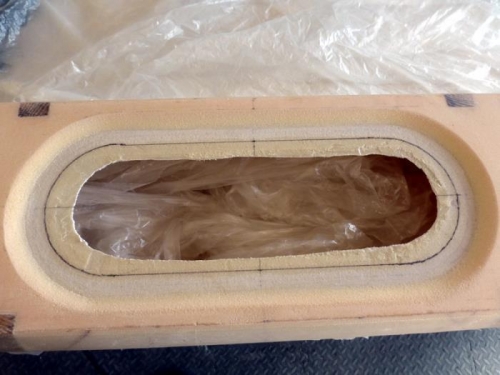
I also redid the oval opening, finally cutting out the middle. I went over the glass edge with my dremel and a cone abrasive bit and ensured I took out from the inside to the out all the foam left over so I have a real glass to glass edge. This removed my carefully placed final line of course. You can see in pic 1 the different colour here. Its a fine line between all the foam gone and some of the glass gone too! I'm happy to have done a bit extra work here.
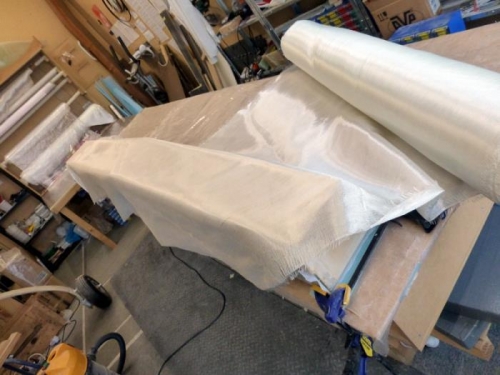
Then cutting glass cloth and labeling it as prep. I made sure that there were no joins right in the middle at the baggage cut out. This meant a little piece extra right at the end of the spar so I had 3 pieces per ply. No probs. I had a look at the cutout in my flying plane, VH-JZE and I want an even better job on this new build.
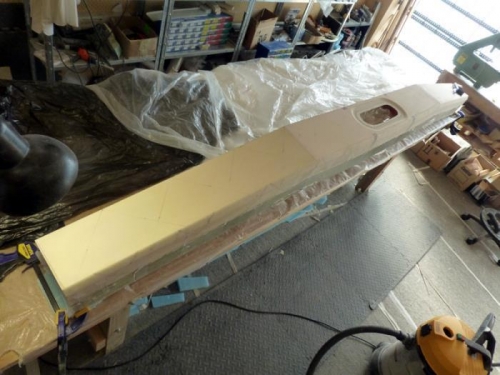
Pic 3 has the glass cut out, labeled, covered in plastic and the spar sanded, inspected and ready for the layup the next day.