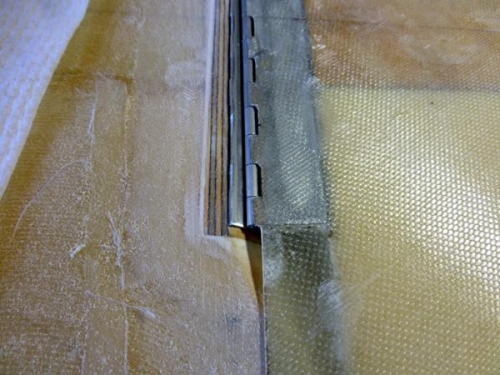
This was over a few days. First job was to micro in LB23. I first rechecked that the cutout was deep enough and that I had allowed for 5 layers of glass (three in the front, two over the back) and the brake would still fit the depression. i.e. it would move back 1/16" or so once glassed in place. I used a lit of metal as you can see in the first pic as a spacer. I probably left too much space to be sure.
Next step was to micro in LB23. I decided to do this with wet micro and let it cure. Then I added dry micro on the edges and all around the brake to ensure smooth transitions later. I'll have a little filling to do on the brake edge as in pic 1 and where I've made joggles.
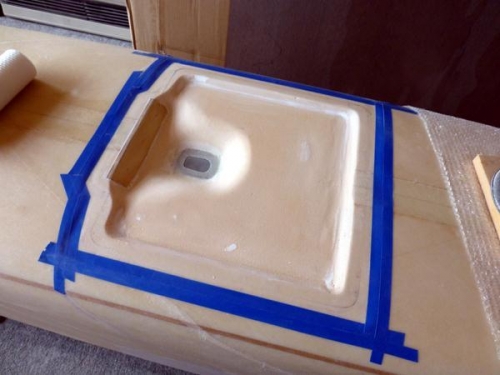
Pic 3 is preping the area for the layup. I'll be wet cutting the glass to the inside of the blue tape later. This took quite a while and I had to remove a lot of micro to ensure the hinge would sit flush. I really really wanted to be sure I didn't have a brake sitting proud of the fuselage and sideways to the center line of the plane. Quite some hours had gone into this quite small job.