All the epoxy was done with a 100mm roller which proved MUCH faster than brushes and far more effective in rolling out air and getting the job smooth. Having someone mix the epoxy made a huge difference and my helper was very experienced in this type of work. Doing both sides in a day would not be possible on my own.
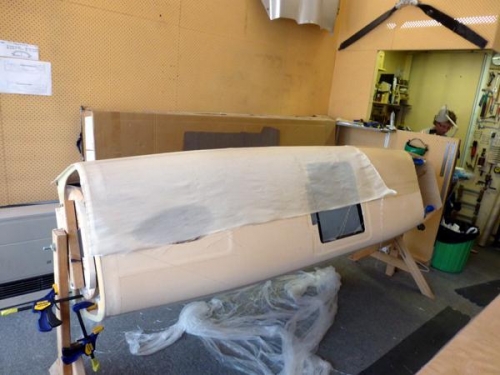
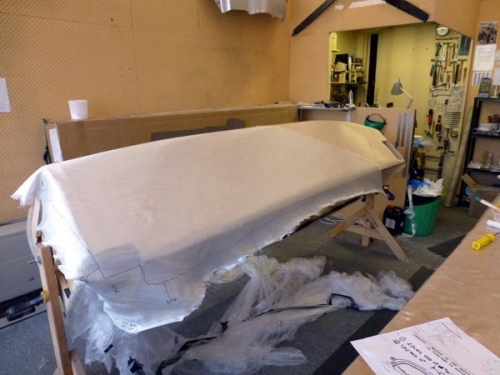
The first pic show two plys already wetted out and the third ply a zero degrees being set up. You can see I have tape over the brake area which gets another separate layup later. It was easy to get the cloth on with help. I was not as good on my own later with the other side although these I had cut to rough size earlier which did make it a bit easier. The third pic shows where I made a few marks to help line it up when doing the opposite side. Better to waste cloth than muck about and find yourself short.
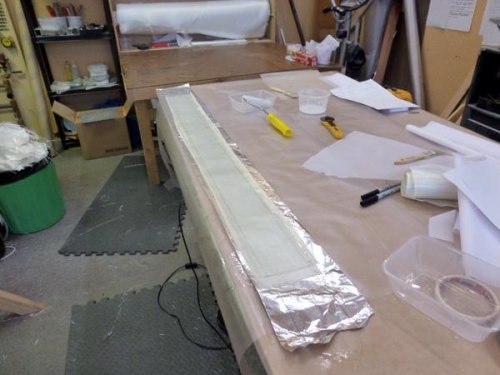
The second pic show the 48" X 3" upper longeron tapes (plans said 50" but I'd moved the front seat forward 2". I don't think these are necessary because I'm not cutting out the baggage area however advice from a structural engineer who builds canards was to wear the weight of these just-in-case. These were layed up on foil shortest first and lapped over the longerons and sides after the three plys main were wetted out.
It was around 4pm with the second side microed and the cloth placed on it.