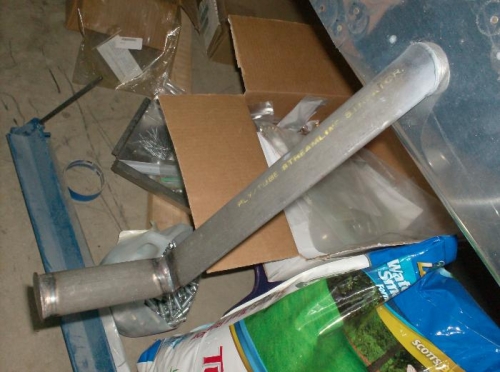
The step install was pretty uneventful. I opted to install a titanium insert that slides inside the horizontal portion of the step that in turn slides into the fuse mounting tube. The reason for the insert is RV’s tend to develop a phenomenon call “wiggly” step that develops because of play in the bolt over time. The typically solution is cut access holes in the baggage floor to gain access to the bolts should then become loose. Some folks enlarge the hole from the get go and use an AN4 bolt. I subscribe to the theory that the actual cause is that the tubes are being deformed (squished into an oblate shape) during the process of tightening the bolt. Over time stepping on the step aggravating the situation and introduces play. The insert hopefully will eliminate the squishing as a potential cause to wiggly step. The insert is pre-drilled and is aligned with the AN3 bolt hole that is used to fasten the step to the mount. The hard part was drilling a perfectly straight bolt hole through the mount and the step so the hole in the insert would line up. I primed the interior of the tubes and then installed the insert. The insert itself is flattened on the sides so a piece of string can be run around it. This allows you to pull the insert back of you push it too far when trying to align the bolt holes, to remove the string once the insert is in-place. At this point all I need to do is go back and blend the weld at joint between the vert & horz sections of the step that’s on the outside of the fuse with the fuse skin with some micro to make it more attractive, or least aerodynamic looking.