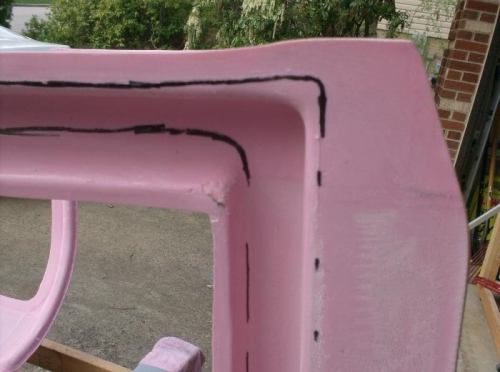
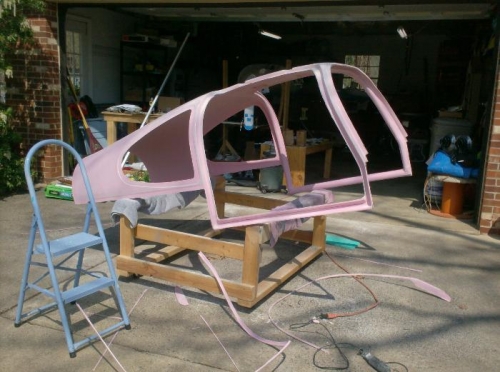
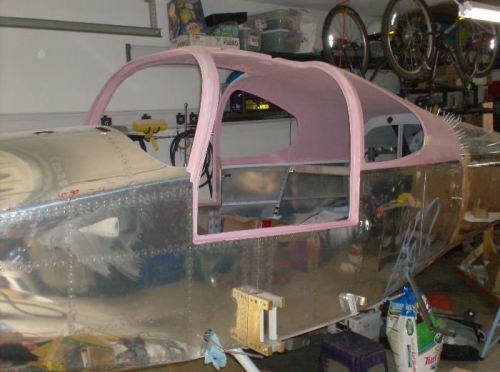
The scribe lines on my cabin top (CT) where visible for the most part so using my Dremel, I trimmed the top down to the line. I then sanded a little bit to smooth everything out and was happy that this was going to be easier than I thought – WRONG!!!! Turns out that trimming down to the scribe lines gets you to within about 1/8” of the proper size. Figured that out when I tried to mount the top on the fuse the first and discovered that I had a significant amount of trimming/sanding left to do in order to get the top to fit. It really wasn’t that bad, but I wanted to sneak up on the required trimming so it was a very iterative process of block sanding and trial fitting. After a couple of weeks, I finally got a fit I was happy with – not difficult, just time consuming. There were a few places that I over did it, but I fixed it by mixing up a batch of flox and repairing the artificially created “low areas” and sanded back to the right shape. As an aside, I handled block sanding the curving window cutouts by gluing sandpaper to the side of an empty gallon paint can which had just the right radius and worked like a champ. Moving on, I marked the rivet holes where the tailcone top skin overlaps the cabin top and then removed the cabin top so I could install the overhead console (OHC). My OHC is one of the original Accuracy Avionics models which was designed for the “green” tops vs. my Pepto pink top. As a result, the fit was terrible. The fix though was relatively straight forward and involved removing portion of the joggle where the OHC changes shape to conform to the door attachment area of the CT. This area is longer on the pink tops than the green so the joggle in the OHC was too short. By cutting the aft “cheeks” of the joggle of the OHC removed the interference and allowed the OHC sit properly. I’ll recreate the missing joggle by sing the CT in that area as a male form and layup some layers of BID to fix it.