
|

|
|
|
TODD'S WEB SITE
|
Date: 1-9-2012
|
Number of Hours: 1.00
|
Manual Reference: Sec 40
|
Brief Description: Flap system
|
|
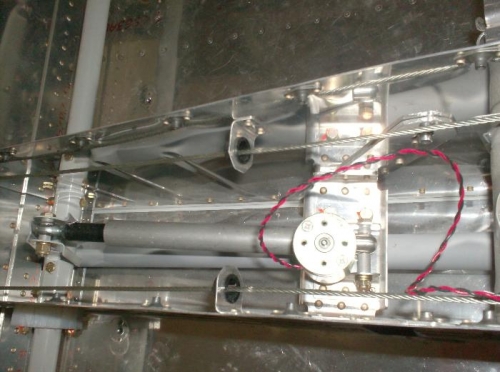
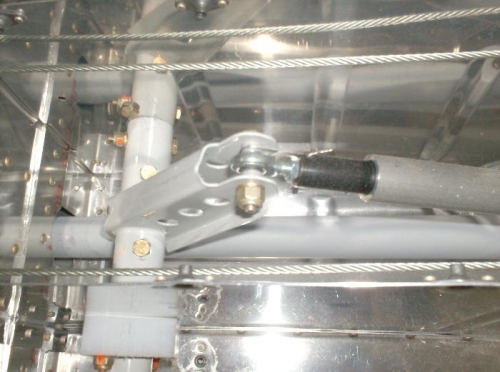
Assembled the flap torque tubes, match drilling using the bellcrank jig and a spacer to set the “clocking” of the parts per the plans. I then primed the interiors of all the associated parts. I then cut the UHMW bushings to size opting to trim all sides of these parts which is optional step in the plans. The next things I did was to fab a number of spacers and to drill a 1/16” hole in the end of the flap motor actuating arm that accepts a rod end bearing so that the bearing to torque tube bracket and be safety tied. This is almost ridiculous as the angle is quite acute and the rod end is preinstalled so you can’t drill from the end back towards the motor, rather you have to start from the shaft and drill towards the rod end. I used a drill center punch to make a pit, started drilling the hole perpendicular to the shaft and then repositioned the drill to the required angle once I had a hole deep enough to accept the end of the bit without the bit slipping out and sliding down the outside of the arm—got it done but I was sweating bullets. The final step was to mount everything. The motor was easy enough, as were the torque tube to the crank, but man o man, the flap horns were a bear. There are 2 bolts per horn, 90 degrees apart, and they all bolt up in the space between the outer skin and the outboard intercostal seat rib which is about 3 inches wide. Trying to get the nut on the bolt and then torqueing it down took max patience, plenty of timeouts when the frustration level limit switch tripped, and perseverance. I hope I never have to take the damn things apart.
|
|
|
|
|
|
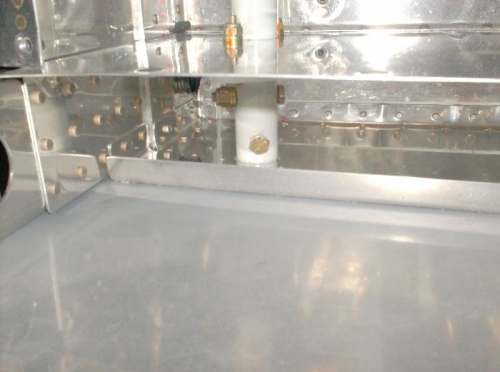
The problem bolts
|
|
|
|
|
|
|
|
|
Copyright © 2001-2024 Matronics. All Rights Reserved.
|