Broke with the plans a bit here, plans say do this over 3 cure cycles, I did it in one.
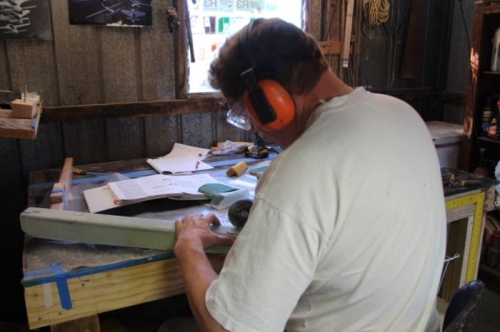
First, trim the layups, cut the transition piece to shape and strip out the urethane and box tape. Mark up the heat duct and cut the hole for the transition piece.
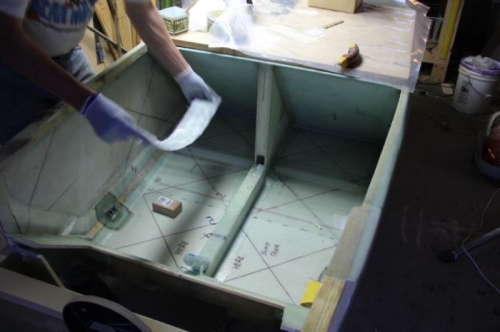
Note at this point I had put the baffle in upside down! the foam is exposed in the heat duct. Decide to tape it through the hole, then decide it will be just as easy to tape the baffle to the fuselage bottom, and do so.
Flox the rear heat duct in position, sort out the inner tape through the hole, then flox in the transfer piece. Instead of waiting for tomorrow, I then applied the mounting tapes.
For the first time in a long while the temperature in the shed is the same as in the resin box without a heater going.