1. Reassemble left aileron, clecoing every other hole on the ribs and horn and every 3rd hold in the top20-mm flange joint.
2. Rivet the horn, A5.
3. Rivet the front skin, A4
4. Rivet the bottom skin, A4
5. Rivet the top skin A4.
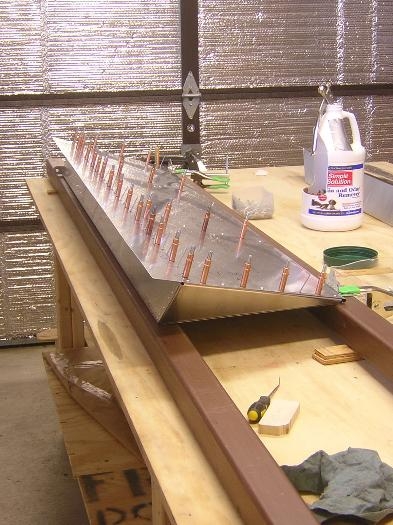
6, In earlier log entries I noted that it was convenient to put a spring clamp on the rail to keep the assembly from moving. I improved on that by using the clamp to hold a Simpson-StrongTie A34 framin angle to the rail. The angle does much better than the clamp alone at keeping the aileron from slipping off the rails. See Fig. 1.
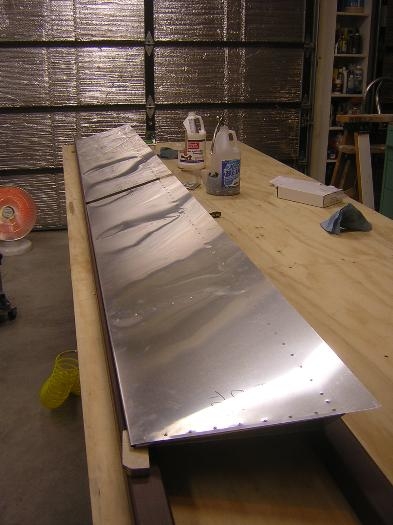
7. Repeated this process with the right aileron. See both riveted ailerons in Fig. 2.
8. There are two areas of concern with the ailerons:
- When drilling the top skin to the left tip aileron, on every hole, the drill bit penetrated through and cut into the web. The cuts in the web were too deep to be removed with ScotchBrite. The left tip rib must be inspected at each annual condition inspection for any evidence of cracks propagating from these cuts.
- The first pilot hole through the top skin is too close to the edge. In both the right and left ailerons, the holes drilled into the flange of rib 1 either cut into the rib web or was very close to the web. When these rivets were set they tore the web slightly. This is a location that could lead to stress cracks. These locations must also be checked in each annual inspection. And I think I may drill a stop hole to minimize any crack propagation.