Brief Description: Landing Light - Left Wing (Part 2)
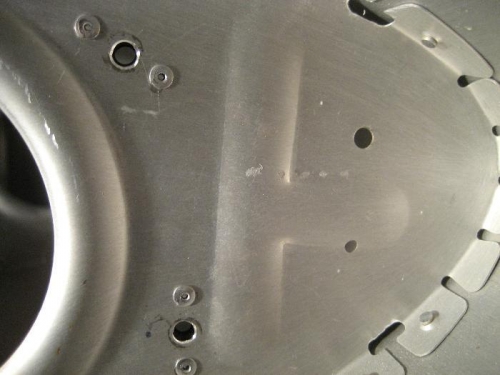
This is part 2 of the same building session. Previously I had cut the hole in the leading edge of the wing. Next I had to install 2 nutplates on each rib so that the light mounting bracket can be held in place. The nutplates allow for screws to be used so you can later adjust the aim and angle of the light. It was very difficult to install the nutplate because you had to reach inside the lens cutout and a rib hole to work. I can't imagine how hard it would be to install one of these on a finished wing!
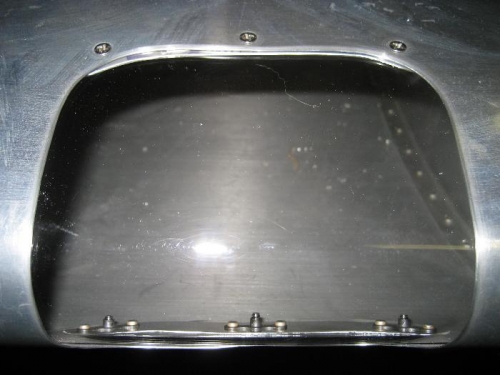
Next I had to trim the plexi lens to fit the hole (used the band saw and a scotchbright wheel to finish the edges) and then drill 6 attachment holes through the wing skin and the plexi. I used a piece of tape for a handle to hold the lens flush against the inside of the wing to drill the holes.
Next I dimpled the wing skin holes so the attachment screw heads will be flush and I countersunk the holes in the plexi to accept those dimples. Then I drilled, edge-finished and attached (riveted) nutplates to the upper and lower lens attachment strips. Screwed everything in place and it came out better than I hoped. I will need to prime and paint the mounting bracket and attachment hardware but I will hold off on that until I do the right wing.
Installed 2 nutplates on the rib to attach the light mounting bracket (view from bracket side of rib
Lens installed (you can see the lens strip and nutplates at the lens bottom