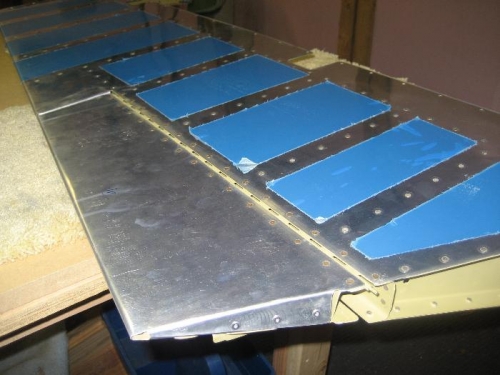
Prepped and primed the trim tab spar, hinge and the trim tab attachment brackets. Riveted the attachment brackets to the trim tab. Then I cleco'd the trim tab onto the elevator to make sure it was aligned with the elevator trailing edge and that there was adequate space between the side of the trim tab and the elevator. Next I drilled and riveted the trim tab sides (where I made the bends). Next step was to rivet the trim tab hinge to the elevator and trim tab. Everything came out well and I was pleased with the results.
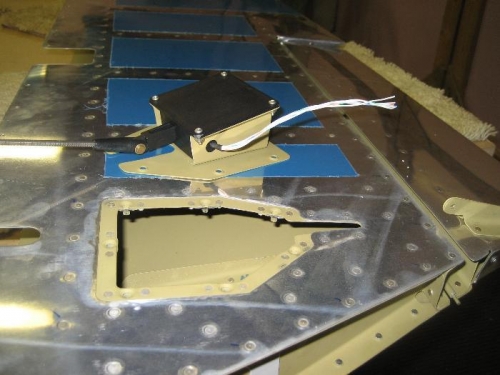
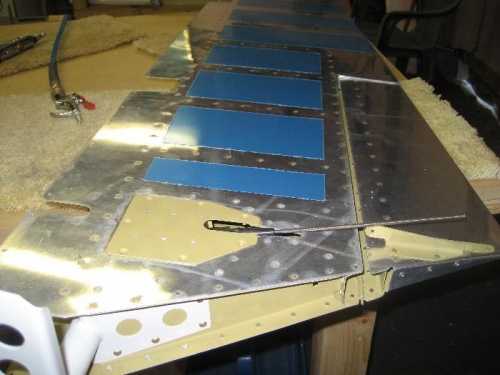
I then riveted the trim tab motor brackets to the trim tab cover plate (shown in picture 2) and attached the trim tab onto the brackets. This motor will extend/retract a threaded rod that attaches to the bracket attached to the trim tab. This will allow movement of the trim tab in flight to reduce elevator control forces on the stick. Next I flipped the motor assembly over and temporarily installed it in the elevator to make sure it fit and the cover plate sits flush (picture 3). Took a cordless drill battery and ran the motor fore and aft to measure the amount of travel so I will know how long I need to make the threaded rod that connects the motor to the trim tab.
Next step will be to roll and rivet the leading edges of the left and right elevator.