Yahoo, I finished one of the harderst parts of the empennage - making the elevator trim tab. Many people re-do this part because it is hard to do and have it turn out satisfactory. I guess I got lucky.
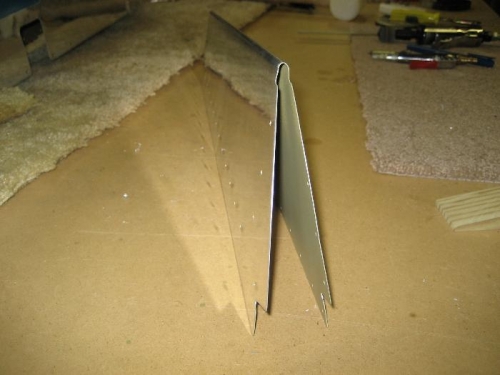
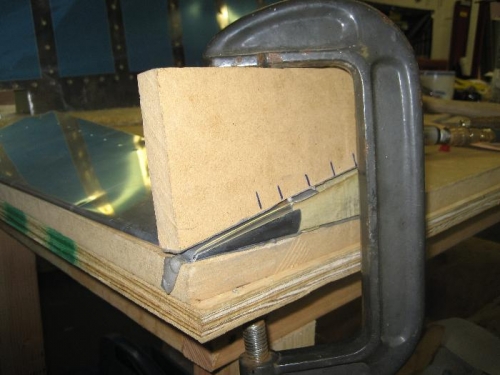
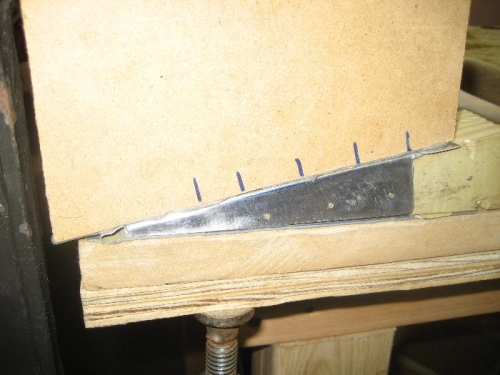
Started off by placing the trim tab in the homemade bending brake and bending the trailing edge to match the elevator trailing edge. Next I placed the trim tab in the forming blocks (pictures 2 and 3) to bend the tabs so that they close the ends of the trim tab. The hard part is getting the flanges to bend 90 degrees and have the trim tab fit the dimensions of the slot in the left elevator.
Next I fit the trim tab spar inside the trim tab and clamped on the hinge that attaches the trim tab to the elevator. I measured and marked the hinge and drilled it to match the skin and spar holes. Then I took everything apart and dimpled the skin holes and countersunk the corresponding holes in the spar. Re-attached everything and drilled and dimpled the bottom skin-to-spar holes.
I made another log entry for today so that I can attach additional pictures. Tomorrow I'll prep and prime those pieces and maybe get the trim tab and hinges rivited.
Trim tab trailing edge bent to match elevator trailing edge