Brief Description: Riveted RH Elevator and Deburred/Dimpled LH Elevat
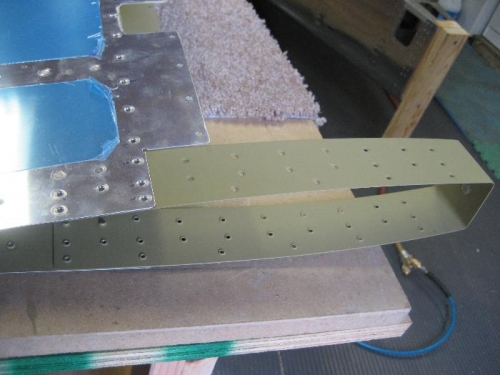
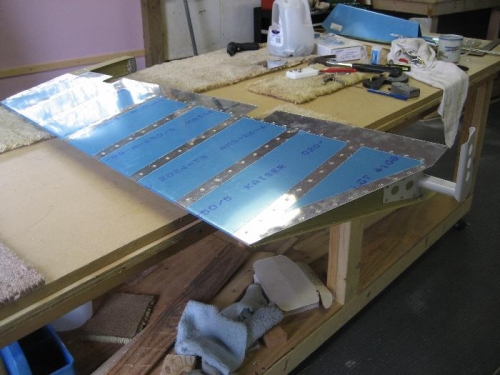
Started riveting the RH elevator, finally. The elevators seem to be taking a lot more time than the previous pieces so it felt good to finally start riveting again. Began by putting a chewing gum size dab of RTV adhesive between the trailing edge of each stiffener (1st pic). The purpose of this is to decrease vibration of the trailing edge, preventing stress cracks later on. Next step was riveting 4 rivets - attaching the counterweight skin to the elevator skin. These 4 rivets are done first because they will be inaccessable (trapped inside the elevator structure) once the understructure is put in place. Next I slipped the understructure in place, cleco'd every other hole and began squeezing rivets in the skin-understructure. Next step will be rolling the leading edge of the elevator but I will wait and do both elevators after the LH elevator is ready.
Next I disassembled the LH elevator and deburred and dimpled the skin, ribs, and spars. Next session I will prep and prime the understructure parts.
RTV between the trailing edge stiffeners
Counterweight skin (right) is riveted (2 rivets/side) to the elevator skin (left)