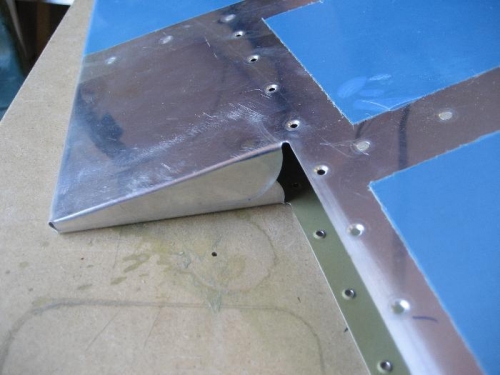
Finally worked up the courage to bend the left elevator tabs. Was so focused on the task that I forgot to take any "before" pictures. If you look at the first 2 pictures, the tabs that are bent over each other were originally sticking out straight with the rest of the elevator skin. I cut a wooden wedge that matched the trailing edge of the elevator, put double sided tape on it to keep it from sliding, placed another piece of wood on top of that piece (on top of the skin) and clamped it together on the edge of the table. I then took a piece of wood and a mallet and bent the bottom tab UP and the upper tab DOWN. The bend turned out well but I clamped the wooden blocks too hard and created a slight crease in the elevator skin. It's not very big but it bugs me every time I put a little ding in something and it's really obvious on the polished aluminum surface. It can be corrected during the paint process.
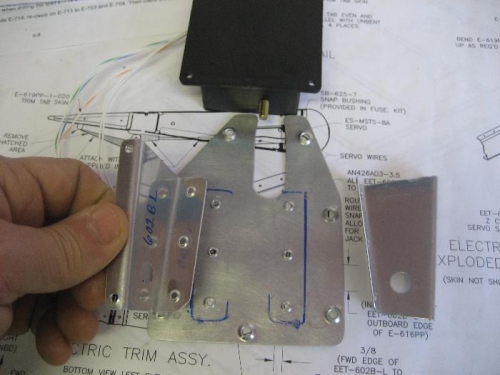
Next I worked on the electric trim servo brackets and the plate they attach to. The trim tab is going to fit into the slot shown in the 1st picture. I've yet to make the trim tab but it will fit into that slot, attached with a hinge. The black trim servo motor (picture 3) will be mounted inside the elevator and a rod will extend and attach to the trim tab. This will allow me to control movement of the trim tab in flight and alleviate any elevator control forces that I will feel in the stick. These forces will change during flight based on weight, power setting, climb, etc.