
|

|
|
|
Wendells RV-6A
|
Date: 10-30-2013
|
Number of Hours: 4.00
|
Manual Reference: Horizontal Hinges
|
Brief Description: Fit Cowling 7
|
|
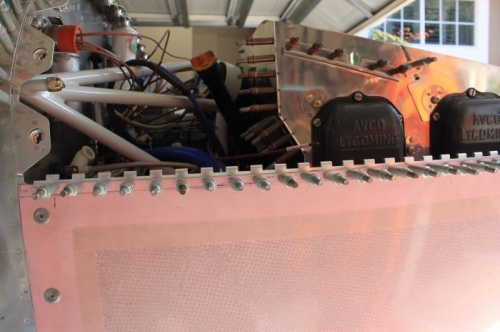
By removing the forward side baffle on the left side, you can work your hand in the cowl intake and press against the hinge as you drill it from the outside with a 12 inch #40 bit. I learned from previous hinges, that if the hinge is clecoed on the bottom, pin inserted, you can measure 5/8 inch up from top of clecoe that holds the bottom hinge on, mark and drill from the outside in. Hits the bullseye every time. Got it done.
The top cowl hinge needs an access hole notched in the forward corners on each side to let the hinge pin wire in and out. I am going to follow others and glass the inside around the notch, make a good looking trim piece and imbed it flush at the front to cover the Vans welded hinge pin optional wire. Some people just mount that Vans hinge pin end. I will place a cover over it where the machine screw goes through the cover, as well as the hinge pin end. Fun project ahead. Cowl intake fiberglass will get trimmed to a smaller nice shape due to the horizontal intake plenum on the left side, and 3/8 gap requirement between cowl and intake ramp on the right side.
|
|
P4 hinge rises as it goes aft.
|
|
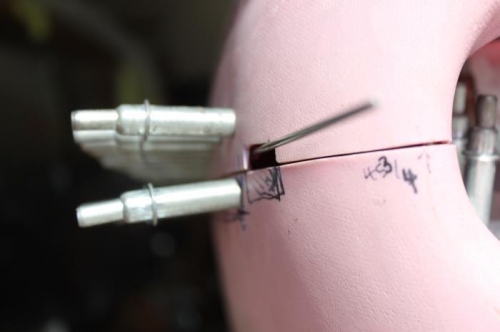
Notched access hole cut in top cowl for hinge pin.
|
|
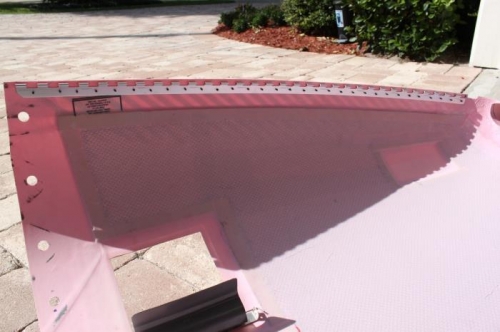
Top cowl hinge drilled in place, fiberglass countersank, ready for glue and rivets.
|
|
|
|
|
|
|
|
|
Copyright © 2001-2024 Matronics. All Rights Reserved.
|