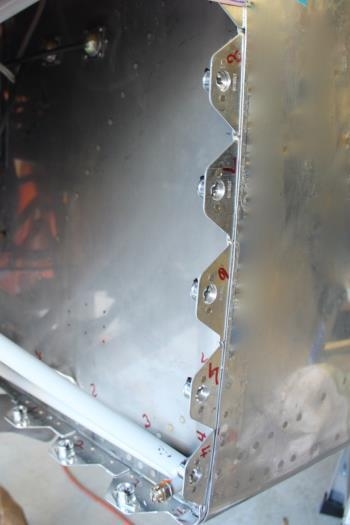
I previously exchanged the former solid mounting strips for individualized interlocking pieces, which simplify installation. I made the spacing of the fasteners 3.2 inches across the top cowl. 3.5 down each side, and for the 3 fasteners on each side of the bottom. There was slight variation on the bottom, but in total I used 33 fasteners around the firewall. Planning on hinges along each side to join the top and bottom cowl sides. To reduce the standard 3.5 inch spacing, I cut 0.3 inches off the right side of each top mounting plate. That side nests in a joggle on the left side of the adjacent one which then provides the flush fit of all of them. When looking down on them the word SKYBOLT faces outward on all pieces. Nice advertising when your cowl is off. Match drilled all pieces to the firewall/fuselage skin holes. Countersank AD4 holes which rivet the actual skybolt fasteners to the plates, and also countersank the AD3 firewall attach holes. The hole at the left side of each piece does not get countersank as it rests underneath of the previous plate's countersunk hole. Riveted all plates to the firewall except the top cowling. That way, I can keep working in the forward fuselage without that top skin riveted in place yet.
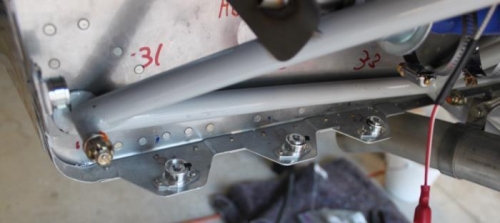
Pilot sidewall and bottom get 8 fasteners for lower cowl.
Lower firewall gets 3 fasteners. Top cowl gets 13
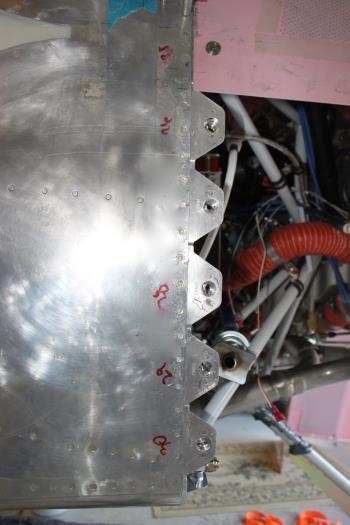
Copilot sidewall and bottom get another 8 fasteners.