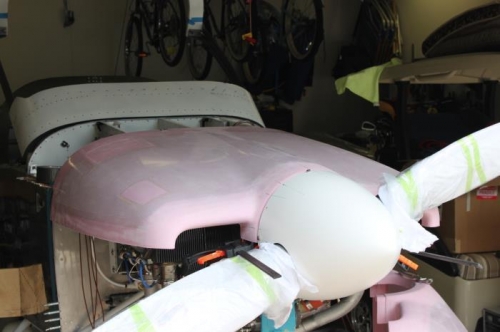
Drew line 2 inches aft of the forward edge of the fuselage skins. Thats the reference line to transfer back to the cowl after the cowl is properly located onto the fuselage. Mounted the spinner with minimum necessary machine screws to show its final shape. Then, I set 1/4 inch spacing between the spinner and the cowl forward edge. The cowl edge is not flat. I will need to fill and file two low spots. Quality control issues at the factory, I suppose. Not new to me. Clamps supported the forward portion of cowl so it could be lined up perfectly with the spinner. Tedious, but got it done. Used 1/4 inch drill bit to space the two apart. Duct taped the rear edge of cowling to fuselage, marked a bunch of reference lines at the spinner and rear lower corners. Layed a flat edge across the spinner and cowling and liked what I saw for transition. Vans says to leave the cowl 1/8 to 3/16 lower than spinner to allow for future sag, when they will then line up. Thats backwards. I align them now, and if sag occurs later, I add washer to engine mount to restore the perfect alignment. Jeees.
Spinner attached and top cowling being tweaked.
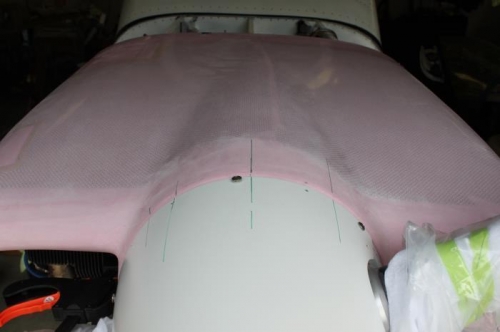
Reference lines to allow return to same position.
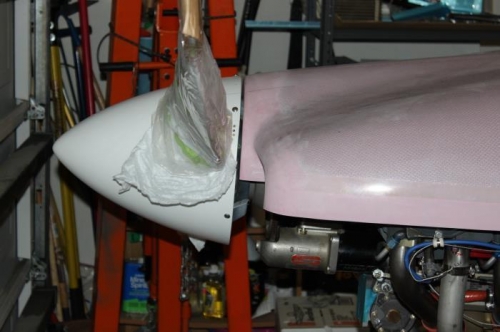
1/4 inch spacing seems exactly what I should use. Looks good.